
Garlic Press Easy to Clean: Stop Hating This Kitchen Tool
Garlic Press Easy to Clean: Stop Hating This Kitchen Tool
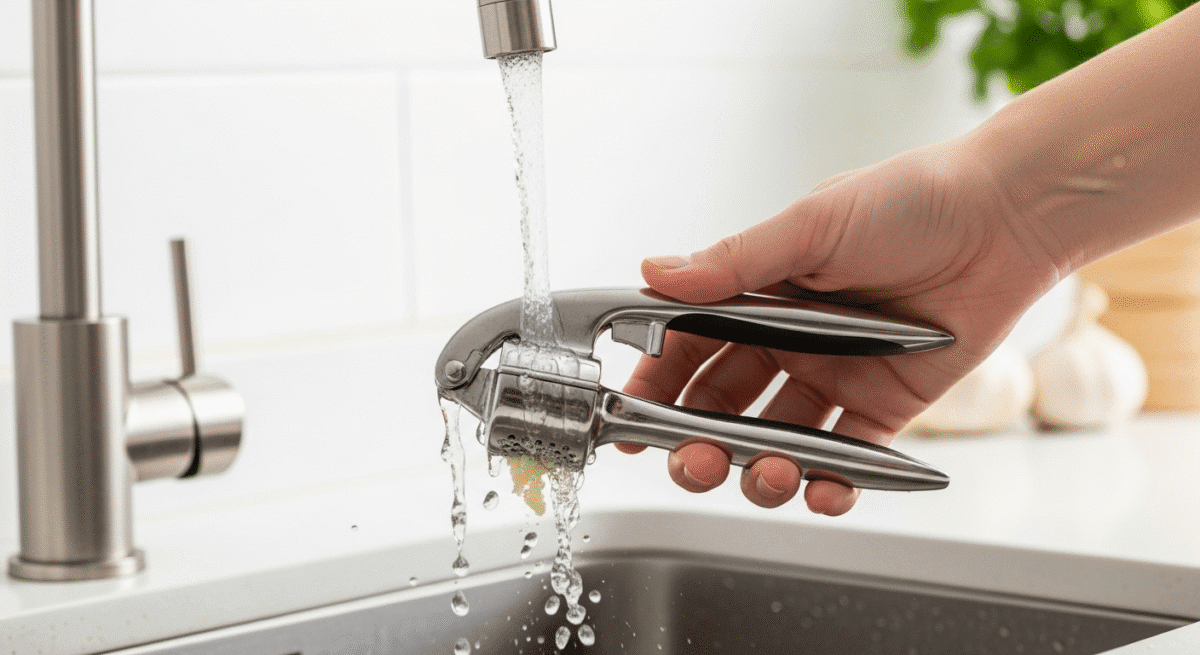
You use your garlic press once, then spend five minutes picking garlic bits out of tiny holes with a toothpick. So it sits unused in your drawer while you go back to mincing by hand. A garlic press easy to clean finally makes this tool worth owning.
Why Most Garlic Presses Become Drawer Orphans
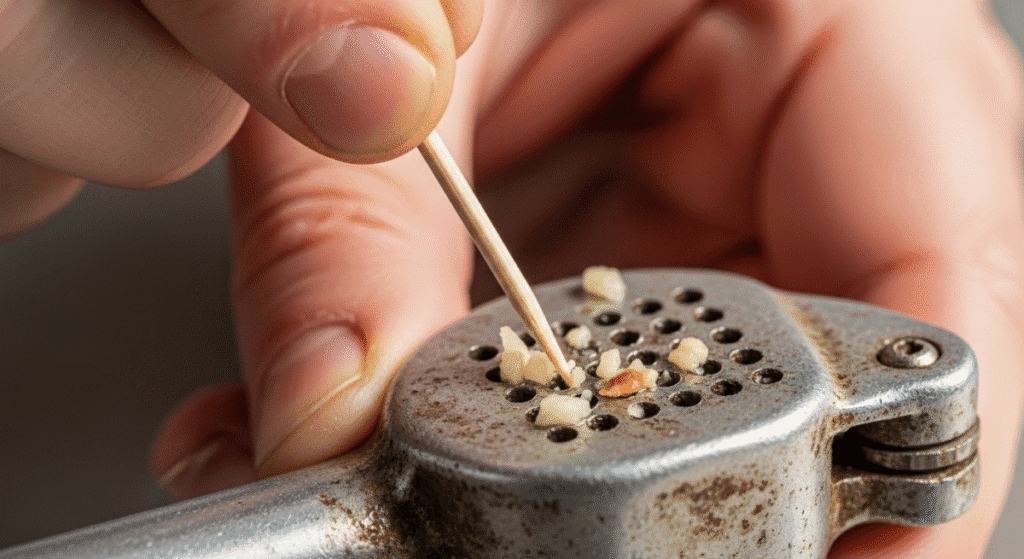
The problem isn’t garlic presses themselves. It’s the cleanup nightmare they create.
Those tiny holes trap crushed garlic fibers. The pressing chamber fills with pulp that won’t rinse out. And by the time you finish cleaning, your hands smell like garlic for the next two days.
So you avoid using it, which defeats the whole purpose. But when you find a garlic press easy to clean, you’ll actually reach for it every time you cook.
What Makes a Garlic Press Easy to Clean
Fewer and Larger Holes
Small holes create stronger garlic flavor by crushing more thoroughly. But they also trap more fibers and make cleaning impossible.
Look for presses with larger holes or fewer total holes. You sacrifice a tiny bit of crushing power, but gain massive cleaning convenience.
Some designs use a perforated plate instead of individual holes. These wipe clean in seconds because there are fewer tight spaces.
Built-In Cleaning Mechanisms
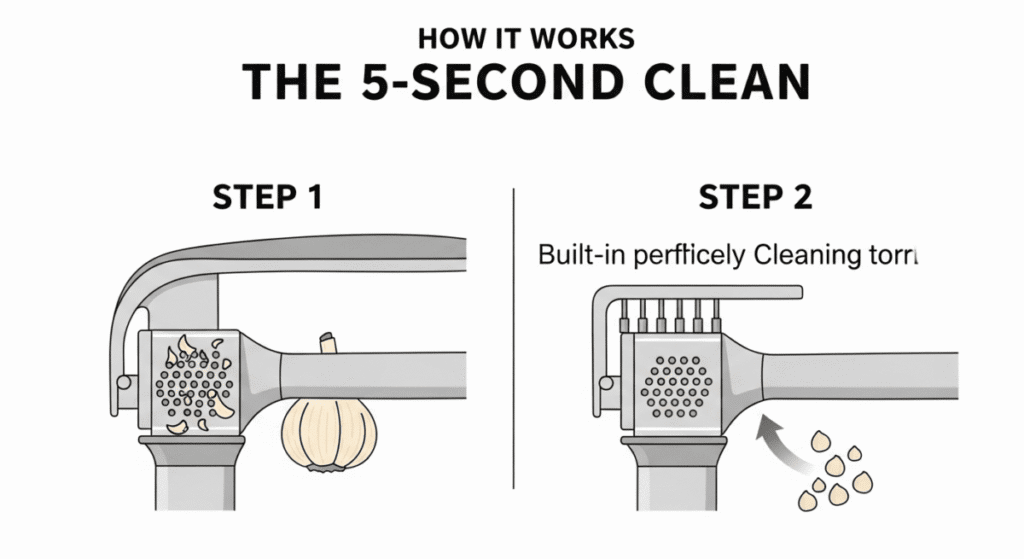
The best garlic press easy to clean models include a cleaning tool that pokes through the holes from the opposite side.
This attachment usually stores right in the handle. So you never lose it, and cleaning takes five seconds instead of five minutes.
Some presses have reverse-action cleaning where you flip the handles and squeeze backward. This forces trapped garlic out through the holes automatically.
Dishwasher-Safe Construction
Not all garlic presses survive the dishwasher. Cheap ones rust or the hinge loosens after a few cycles.
Quality stainless steel models handle dishwashers perfectly. Just toss it in after use, and it comes out spotless every time.
Smooth Interior Surfaces
Textured or rough interior surfaces catch garlic pulp and hold it. Smooth polished metal lets everything slide right out.
Corners and crevices are your enemy. The simpler and smoother the pressing chamber design, the easier your cleanup becomes.
Types of Easy-to-Clean Garlic Presses
Traditional Hinged Presses
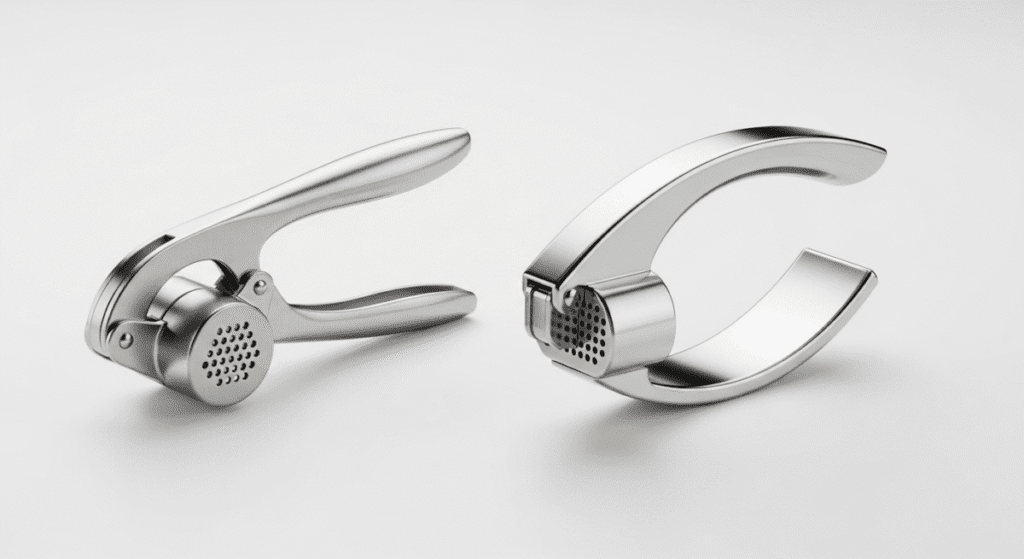
These look like giant nutcrackers with a garlic chamber in one handle. They’re the most common design.
Easy-to-clean versions have detachable chambers or smooth pressing plates. Avoid models with complex mechanisms or multiple small parts.
Rocker-Style Presses
You roll these back and forth over the garlic instead of squeezing handles. They have fewer parts and wider openings.
Cleaning means wiping the curved pressing surface. There’s no chamber where garlic gets trapped, so cleanup is naturally easier.
Twist-Top Presses
These have a barrel design where you twist the top to press garlic through holes in the bottom.
They disassemble completely for cleaning. That means every surface is accessible, and nothing stays hidden in tight corners.
Horizontal Slide Presses
Less common but incredibly easy to clean. You slide a plunger through a tube to crush the garlic.
The straight-through design means no hidden chambers. Everything rinses clean under running water in seconds.
Key Features Worth Having
Detachable Components
Being able to take the press completely apart is huge. You can clean each piece individually and reach every surface.
Look for presses where the chamber or hopper removes easily. Twist-lock mechanisms work better than friction-fit parts that stick.
Quality Stainless Steel Construction
Cheap metal rusts and corrodes, especially around garlic juice. Quality 18/10 stainless steel resists corrosion and stays smooth.
Aluminum seems like a good lightweight option, but it reacts with garlic and can develop a metallic taste over time.
Ergonomic Handle Design
Comfortable handles matter more than you think. You need good leverage to press garlic, and that requires a solid grip.
Long handles give you better mechanical advantage. That means less effort to press, and cleaner crushing with less pulp stuck in the chamber.
Generous Chamber Size
Small chambers force you to press garlic in multiple batches. Larger chambers handle 3-4 cloves at once.
Bigger chambers also mean more space between garlic and holes. That creates cleaner pressing with less fiber getting jammed.
How to Clean Your Garlic Press Properly
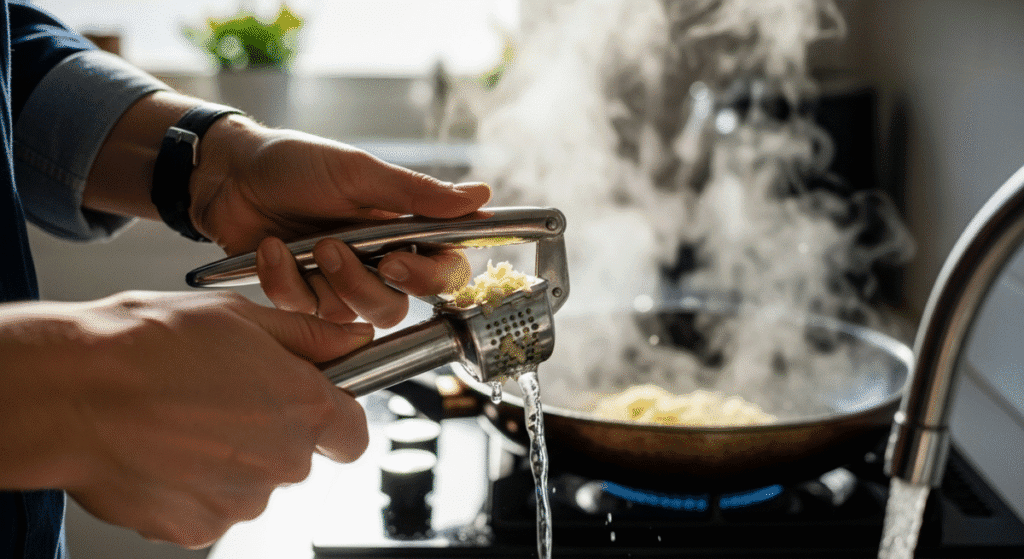
Immediate Rinse After Use
Don’t let garlic dry in the press. Rinse it immediately under hot running water while the garlic is still wet.
Fresh garlic wipes away in seconds. Dried garlic cement takes serious scrubbing and still might not come completely clean.
Use the Cleaning Tool
If your press includes a cleaning attachment, use it every single time. Push it through the holes to clear trapped fibers.
Even if the press looks clean, tiny strands might be hiding. The cleaning tool catches what you can’t see.
Hot Soapy Water Soak
For stubborn residue, soak the press in hot soapy water for five minutes. This softens dried garlic and makes it easier to remove.
Add a drop of dish soap to help break down the oils. Plain water works, but soap cuts through garlic residue faster.
Brush Between Holes
A small brush like an old toothbrush gets into spaces your fingers can’t reach. Scrub gently around and through the holes.
Focus on the pressing plate and any corners where the chamber meets the holes. That’s where garlic loves to hide.
Dishwasher Cleaning
If your garlic press easy to clean model is dishwasher-safe, use it. Place the press on the top rack where water pressure is lower.
Run a normal cycle with your regular detergent. The high heat and strong detergent eliminate any remaining garlic smell too.
Dry Thoroughly
Water trapped in the hinge or chamber leads to rust and weird smells. Shake off excess water and let it air dry completely.
Or use a dish towel to dry all surfaces immediately after washing. Pay attention to the hinge area and inside the chamber.
Preventing Garlic Press Problems
Don’t Press the Skin
Garlic skin creates stringy fibers that jam up the holes worse than anything else. Always peel cloves before pressing.
Some presses claim you don’t need to peel. But even those work better and clean easier when you remove the skin first.
Use Fresh Garlic
Old, sprouting garlic has tougher fibers that stick in the press. Fresh firm cloves crush cleanly and rinse away easily.
If your garlic is starting to sprout, remove the green center before pressing. Those sprouts are especially fibrous and difficult to clean.
Don’t Overfill the Chamber
Cramming too many cloves creates excessive pressure. Garlic gets forced into every crevice instead of through the holes.
Press 2-3 cloves at a time maximum. Multiple small batches actually work faster and cleaner than one overstuffed batch.
Apply Steady Pressure
Quick jerky squeezes create messy results. Slow steady pressure crushes garlic more uniformly and forces less into tight spaces.
Squeeze all the way until the handles nearly touch. Incomplete pressing leaves garlic trapped in the chamber unnecessarily.
Garlic Press Easy to Clean: Pros and Cons
The Benefits
Actually Gets Used – When cleaning is quick, you’ll use the press regularly instead of avoiding it. That means better-tasting food.
Saves Time Overall – Even with cleaning, pressing is faster than mincing by hand. And easy cleaning means the total time is reasonable.
No Garlic Fingers – Your hands stay clean and smell-free. That’s worth a lot when you’re touching other ingredients afterward.
Consistent Results – Unlike hand mincing, a press delivers uniform garlic pieces every time. Your cooking becomes more predictable.
Less Waste – You extract more garlic juice and flavor compared to chopping. Nothing gets stuck to your cutting board.
The Drawbacks
Still Requires Cleaning – Even easy-to-clean models need washing. There’s no completely maintenance-free garlic press.
Takes Up Space – A garlic press is a single-purpose tool. If your kitchen is tiny, that drawer space might be better used elsewhere.
Initial Cost – Quality easy-to-clean presses cost $15-30. Cheap $5 presses exist, but they’re nightmares to clean.
Not Ideal for Large Batches – Making garlic bread for 20 people? Mincing by hand might actually be faster than pressing dozens of cloves.
Some Garlic Gets Wasted – A small amount always stays trapped in the chamber. With expensive garlic, that waste adds up.
Frequently Asked Questions
Can I put my garlic press in the dishwasher?
Check the manufacturer’s instructions first. Quality stainless steel presses are usually dishwasher-safe, but cheap ones might rust.
Place it on the top rack to avoid excessive heat. And make sure it’s fully open so water can reach all surfaces.
How do I remove dried garlic that’s already stuck?
Soak the press in hot water with dish soap for 30 minutes. Then use a toothbrush or the cleaning tool to scrub the holes.
For really stubborn buildup, try a paste of baking soda and water. Let it sit for 15 minutes before scrubbing.
Do I really need to peel the garlic first?
Yes, even if the press claims you don’t have to. Unpeeled garlic creates more mess and makes cleaning way harder.
The thin skin gets shredded into fibers that wrap around everything. Spending 10 seconds peeling saves minutes of cleaning.
Why does my press smell like garlic even after washing?
Garlic oils penetrate porous materials and linger. Soak the press in white vinegar for 15 minutes, then wash normally.
Stainless steel absorbs less odor than plastic or aluminum. That’s another reason to invest in quality metal construction.
Are rocker-style presses easier to clean than traditional ones?
Generally yes, because they have fewer parts and no pressing chamber. But they require more counter space to use.
Traditional presses with good cleaning mechanisms can be just as easy. It depends more on design quality than press style.
How often should I deep clean my garlic press?
After every 5-10 uses, do a thorough cleaning even if it looks clean. Soak it, scrub all surfaces, and check for hidden buildup.
This prevents long-term odor problems and keeps the press working smoothly. Think of it as maintenance, not just cleaning.
What’s the best way to store a garlic press?
Store it fully open so air circulates through the chamber. This prevents moisture buildup and weird smells.
Keep it in a drawer or on a utensil hook. Storing it closed while slightly damp creates the perfect environment for bacteria.
Can I use a garlic press for other ingredients?
Some people use them for ginger, small olives, or soft nuts. But these ingredients can be even harder to clean than garlic.
Stick with garlic to keep things simple. Using a garlic press easy to clean model for multiple ingredients defeats the whole purpose.
Making Your Choice
Consider how often you cook with garlic. If you use it multiple times a week, invest in a quality press that cleans easily.
Read reviews specifically mentioning cleaning difficulty. Other users will tell you the truth about whether “easy to clean” claims are actually accurate.
Look for brands that offer replacement parts or good warranties. A garlic press easy to clean model should last years, and warranty support proves the company stands behind it.
Final Thoughts

The right garlic press transforms a frustrating tool into something you actually enjoy using. When cleanup takes 30 seconds instead of five minutes, everything changes.
Now you know what features prevent cleaning nightmares and which designs work best for different cooking styles. So pick one that matches your needs and budget.
Ready to stop avoiding your garlic press and start using it daily?
1 thought on “Garlic Press Easy to Clean: Stop Hating This Kitchen Tool”