Your Kitchen Hygiene Rescue Plan
Your Kitchen Hygiene Rescue Plan: A Simple Guide to a Safe Kitchen
Hello and welcome. Let’s talk about something that can feel a little scary: kitchen hygiene.
I know that words like “cross-contamination” and “foodborne illness” can be intimidating. But I promise you, a safe kitchen is not a sterile, stressful laboratory. This guide is your rescue from that fear. A truly safe kitchen is just a mindful and organized kitchen.
This is your simple, honest guide to the few essential habits that will make the biggest difference. It’s about creating a space where you can cook with confidence and joy, knowing you are taking care of yourself and the people you love.
The First, Most Important Idea: Cleaning vs. Sanitizing
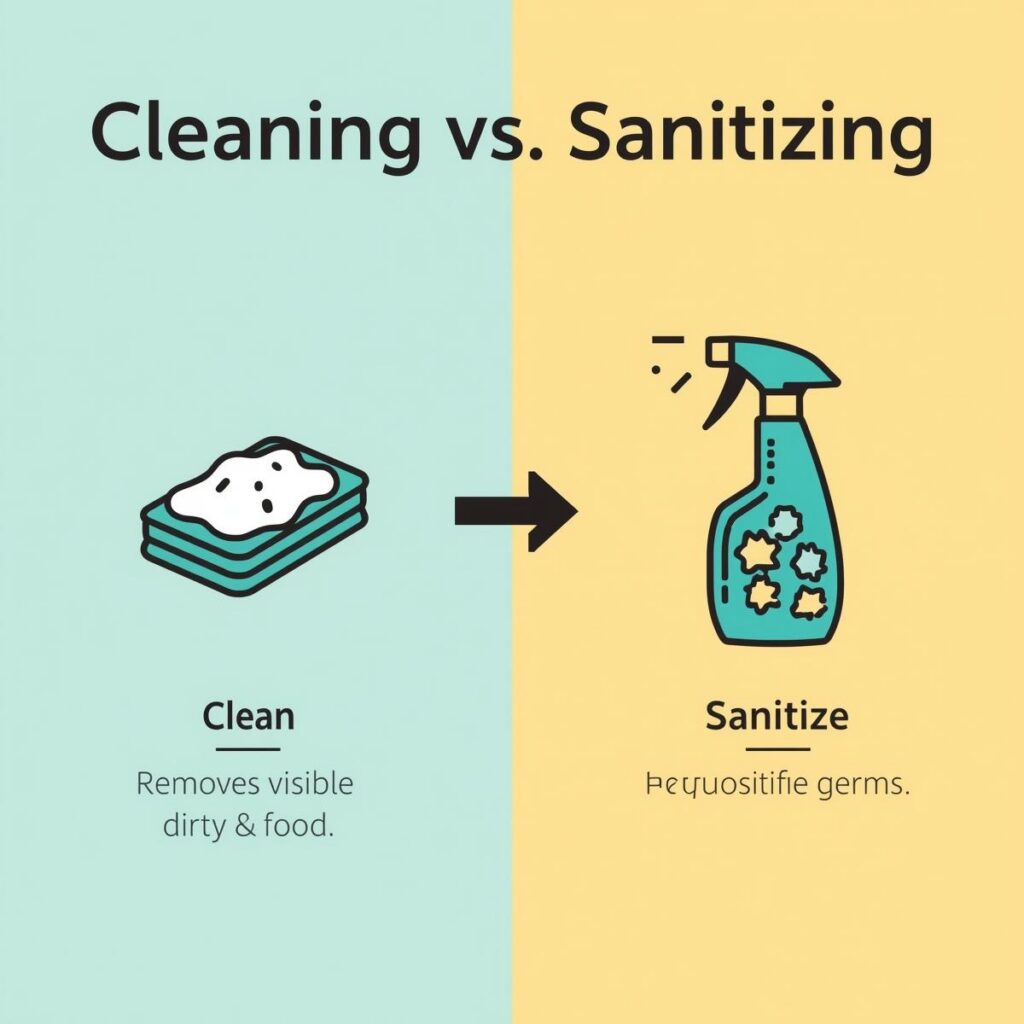
Before we do anything else, we need to be very clear about two words that people often use interchangeably, but mean very different things. This is the foundation of everything.
Cleaning is about removing visible dirt. When you wipe crumbs off the counter with a soapy sponge, you are cleaning. When you wash your hands with soap and water to get dough off them, you are cleaning. Cleaning is the first and most important step. You cannot sanitize a dirty surface.
Sanitizing is about killing germs. This is the step that happens after you clean. A sanitizer is a product that reduces the number of invisible germs (like bacteria) to a safe level. This can be a store-bought kitchen sanitizer spray, or a simple homemade solution.
Think of it like this: cleaning is like washing mud off your hands with soap and water. Sanitizing is like using hand sanitizer afterward to kill any remaining germs. You have to do the first one for the second one to work.
A Simple Homemade Sanitizer (Your Kitchen Rescue)
You don’t need a fancy, expensive product. A simple, effective sanitizer can be made with one part plain white vinegar and three parts water in a spray bottle. It’s a great, food-safe option for a final wipe-down of your counters.
Your Most Important Tool: Cutting Board Safety
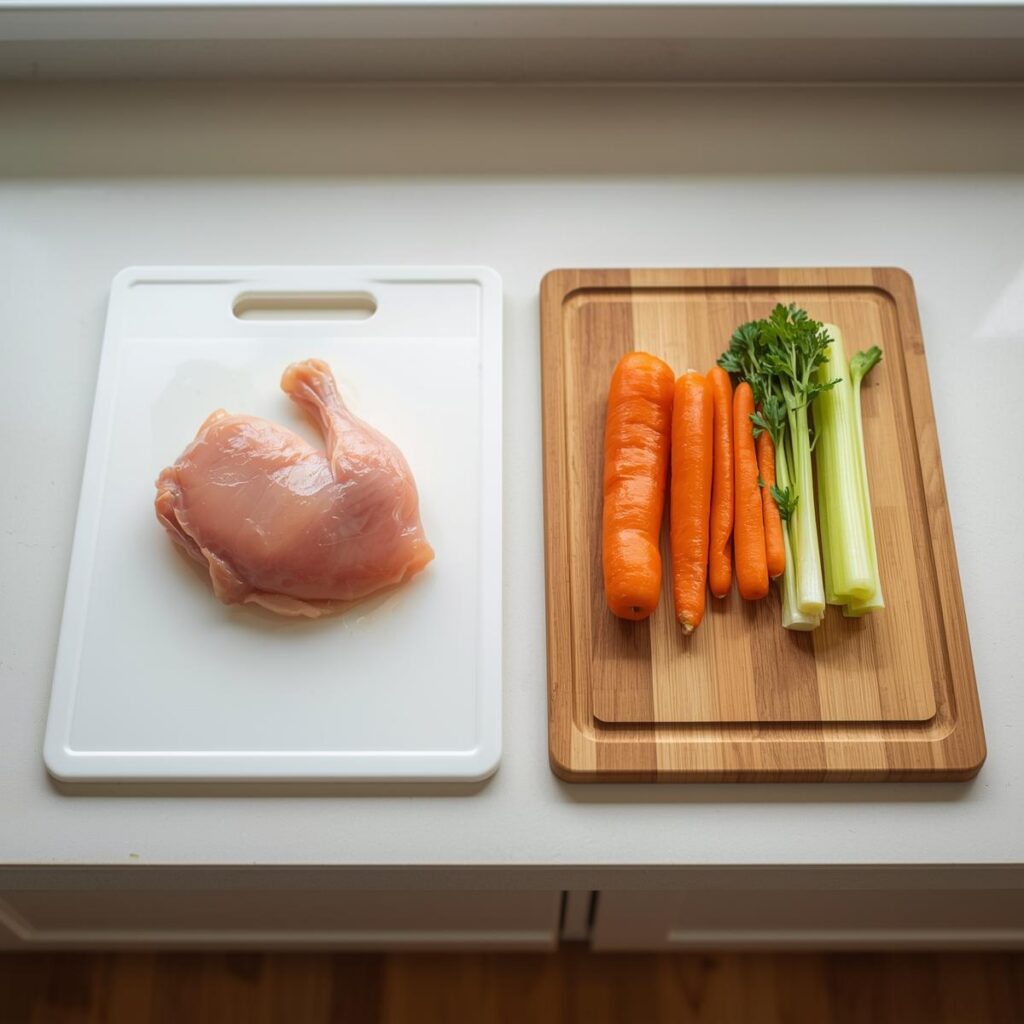
Your cutting board is one of the most important tools in your kitchen. It is also the number one place where cross-contamination can happen. But the rescue for this is very, very simple
The Two-Board System (This is Not Optional)
You need two cutting boards. Period. One is for raw meat, poultry, and fish. The other one is for everything else—vegetables, fruits, bread, and cheese.
- Your “Meat Board”: I highly recommend a simple, dishwasher-safe plastic cutting board for raw meat. It’s easy to clean and sanitize.
- Your “Veggies & More” Board: A beautiful wooden or bamboo cutting board is perfect for this.
By having two separate, dedicated boards, you have created a simple, foolproof system that makes it almost impossible to accidentally transfer dangerous bacteria from your raw chicken to your fresh salad.
How to Wash Your Cutting Boards Properly
- Plastic Meat Board: After you are done with your raw meat, this board should go directly into the dishwasher. The hot water and detergent will clean and sanitize it perfectly. If you don’t have a dishwasher, wash it with very hot, soapy water, rinse it well, and then you can spray it with your vinegar sanitizer.
- Wooden Veggie Board: A wooden board should never, ever go in the dishwasher. The heat and water will cause it to warp and crack. Instead, just wash it by hand with hot, soapy water, rinse it, and let it air dry standing up so that both sides can dry evenly.
When to Replace Your Cutting Boards
Over time, your cutting boards will get deep grooves and cuts in them from your knife. These little grooves are a perfect hiding place for bacteria.
So, when your plastic board has a lot of deep, dark scratches that are hard to clean, it’s time to replace it. And when your wooden board starts to split or warp, it’s also time for a new one.
The Fridge & Freezer: A Guide to Safe Storage
Your refrigerator is not just a cold box. It’s a dynamic environment, and knowing how to organize it is a huge rescue for both food safety and reducing food waste.
The Golden Rules of the Fridge
- Keep it at the Right Temperature. Your fridge should be set at or below 40°F (4°C). Your freezer should be at 0°F (-18°C). A simple, cheap refrigerator thermometer is a great tool to have.
- The 2-Hour Rule. You should never leave perishable food out at room temperature for more than two hours. After that, it needs to be put in the fridge or thrown away.
- Cool Hot Food First. Don’t put a big, steaming pot of hot soup directly into your fridge. This can raise the overall temperature of your refrigerator and put other foods at risk. Let hot food cool down on the counter for a bit first. To speed it up, you can transfer it to smaller, shallower containers.
How to Organize Your Fridge for Maximum Safety
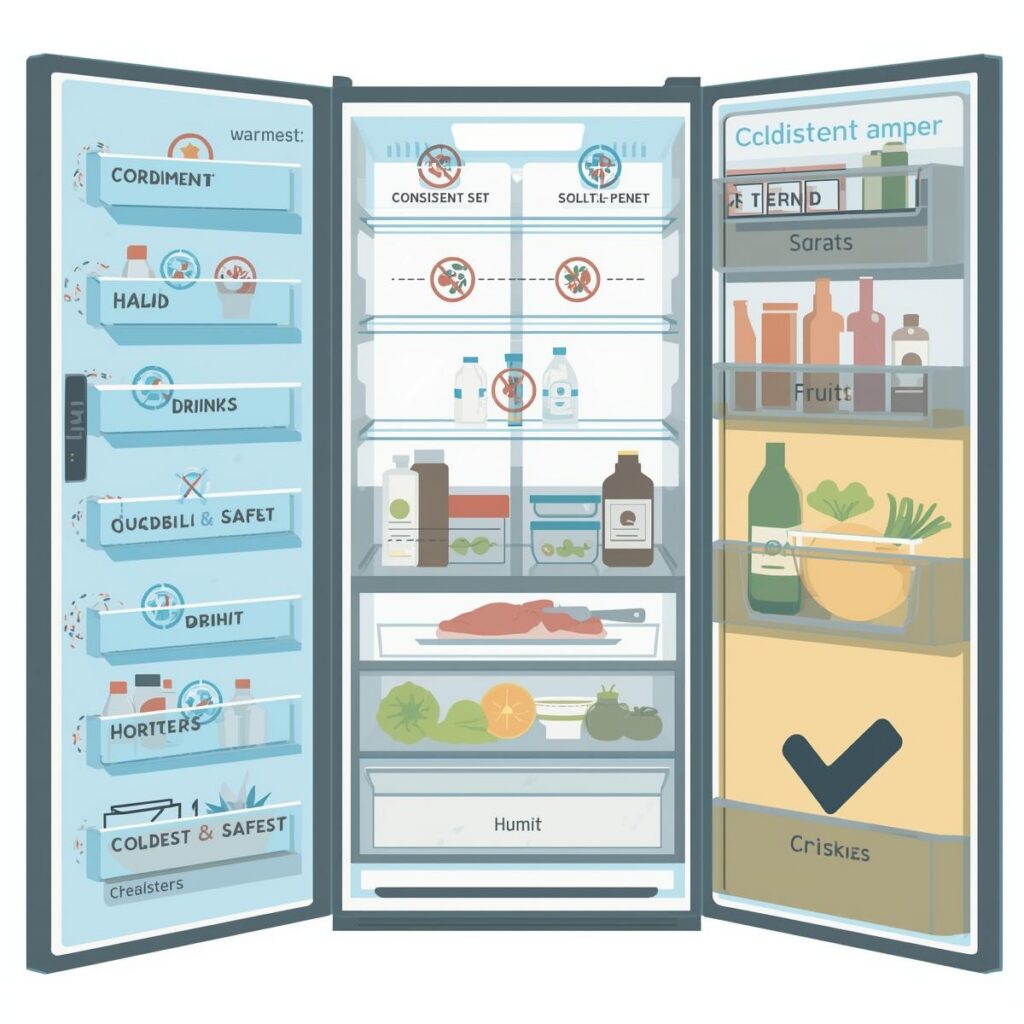
The temperature inside your fridge is not the same everywhere. The door is the warmest part, and the back is the coldest. Here’s the best way to organize it.
- The Door (The Warmest Spot): This is for your least perishable items. Things like condiments (ketchup, mustard, soy sauce), pickles, and jams. You should not store your milk or eggs in the door.
- The Upper Shelves: These have the most consistent temperature. This is a great place for leftovers, drinks, yogurts, and ready-to-eat foods like deli meats.
- The Lower Shelves: This is the coldest part of your fridge. This is the best place for your raw ingredients like milk, eggs, and cheese.
- The Bottom Shelf (The Most Important Rescue): This is where you must store your raw meat, poultry, and fish. Always keep your raw meat on a plate or in a container on the very bottom shelf. This is a simple, foolproof rescue that prevents its juices from dripping down and contaminating the food below it.
- The Crisper Drawers: These are designed to hold moisture. One is usually for vegetables (which like it humid), and one is for fruits (which often like it a little less humid).
A Simple Freezer Tip
Label everything! When you put something in the freezer, write what it is and the date on it with a permanent marker. It’s a simple habit that will rescue you from mystery frozen blocks in the future.
A Simple Deep Cleaning Schedule
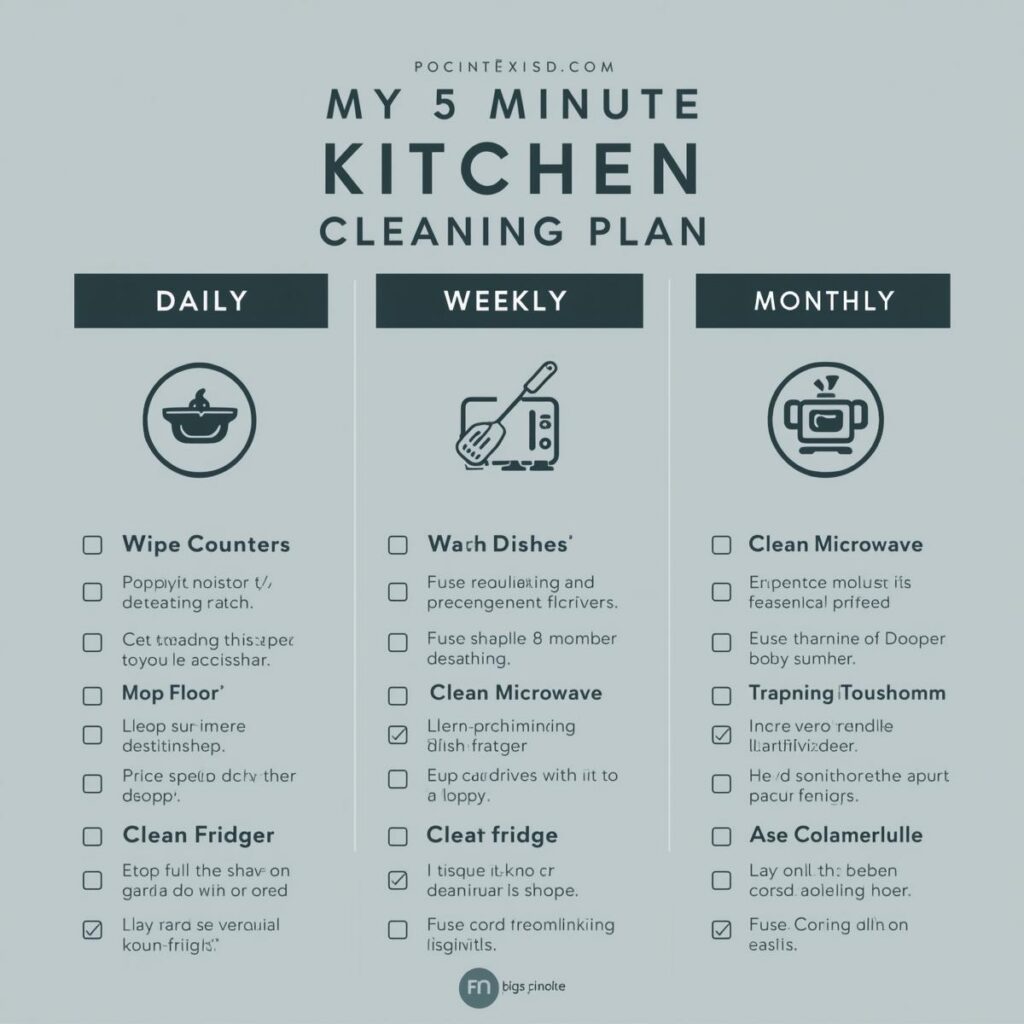
A clean kitchen is a safe kitchen. But you don’t need to scrub it from top to bottom every single day. Here is a simple, realistic schedule.
All Day (The 5-Minute Rescue)
- Wipe down your counters after you cook.
- Wash your dishes.
- Wipe up any spills immediately.
- Change your dish towel. A damp dish towel is a breeding ground for bacteria.
Every Week
- Wipe down the outside of your appliances (microwave, stovetop, etc.).
- Clean the inside of your microwave.
- Take out the trash and recycling.
- Mop the floor.
- Do a quick “fridge audit.” Throw out any old leftovers.
Every Month
- Clean the inside of your refrigerator. Take everything out and wipe down the shelves.
- Clean your dishwasher by running it empty on a hot cycle with a cup of vinegar.
- Clean your coffee maker.
How to Clean Your Equipment

- Your Blender: The easiest rescue for a dirty blender. Fill it halfway with warm water, add a drop of dish soap, and then just blend it on high for 30 seconds. Rinse it out, and it’s perfectly clean.
- Your Cast-Iron Skillet: Never use soap on a cast-iron pan. Just scrub it with hot water and a stiff brush. Then, dry it completely and wipe it with a very thin layer of cooking oil to keep it seasoned.
- Your Coffee Maker: Run a cycle with equal parts water and white vinegar to clean out all the mineral deposits. Then, run a few cycles with plain water to rinse it out.
A Simple System for Kitchen Safety (The Pro-Level Mindset)
Professional kitchens use a complicated system called HACCP. It sounds scary, but the idea behind it is very simple. It’s just about identifying the most important moments where things can go wrong, and having a plan for them.
For a home cook, there are really only three “critical moments” you need to think about.
Critical Moment #1: When You Bring Food Home
The rescue here is to put your cold food away immediately. Don’t leave your groceries in the car or on the counter. Put your refrigerated and frozen items away first.
Critical Moment #2: When You Are Cooking
The rescue here is your meat thermometer. This is the only way to be sure that your meat is cooked to a safe internal temperature.
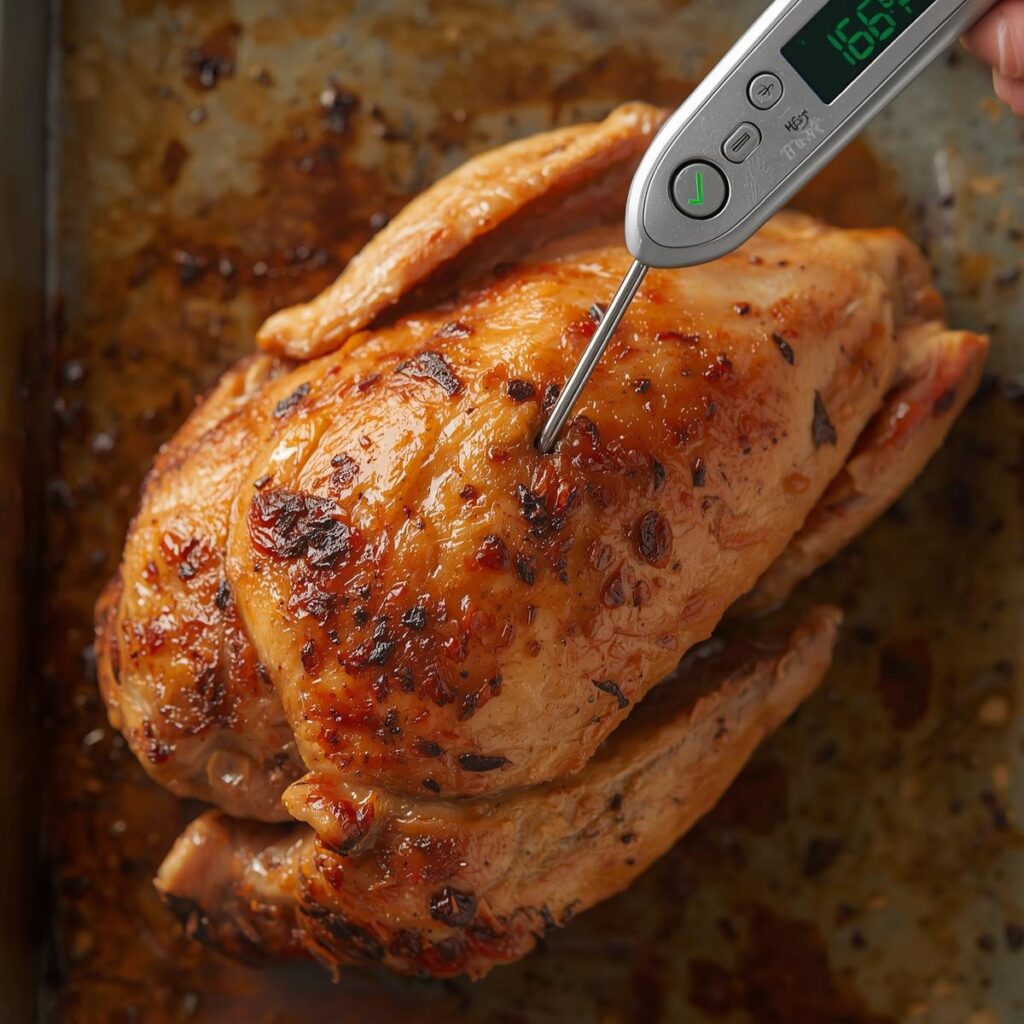
- Chicken and Turkey: 165°F (74°C)
- Ground Meat (Beef, Pork): 160°F (71°C)
- Pork Chops and Roasts: 145°F (63°C)
- Fish: 145°F (63°C)
Critical Moment #3: When You Are Storing Leftovers
The rescue here is the 2-hour rule. As we said, you must get your leftovers into the fridge within two hours of cooking.
The Final Word: It’s About Care, Not Fear

I know this is a lot of information. But please, do not let it make you feel anxious. This is not a list of scary rules.
This is a guide to help you feel confident. It’s about a few simple, mindful habits. It’s about understanding the “why” behind the basics.
A clean and safe kitchen is not a sterile one. So It’s a kitchen that is used and loved. It’s a space where you can create delicious, nourishing food for yourself and the people you care about. As well as that is a beautiful thing.
What is one simple hygiene habit that has made a big difference in your kitchen? I would love to hear your ideas in the comments.