
Common Baking Mistakes: How to Fix Baking Rescues
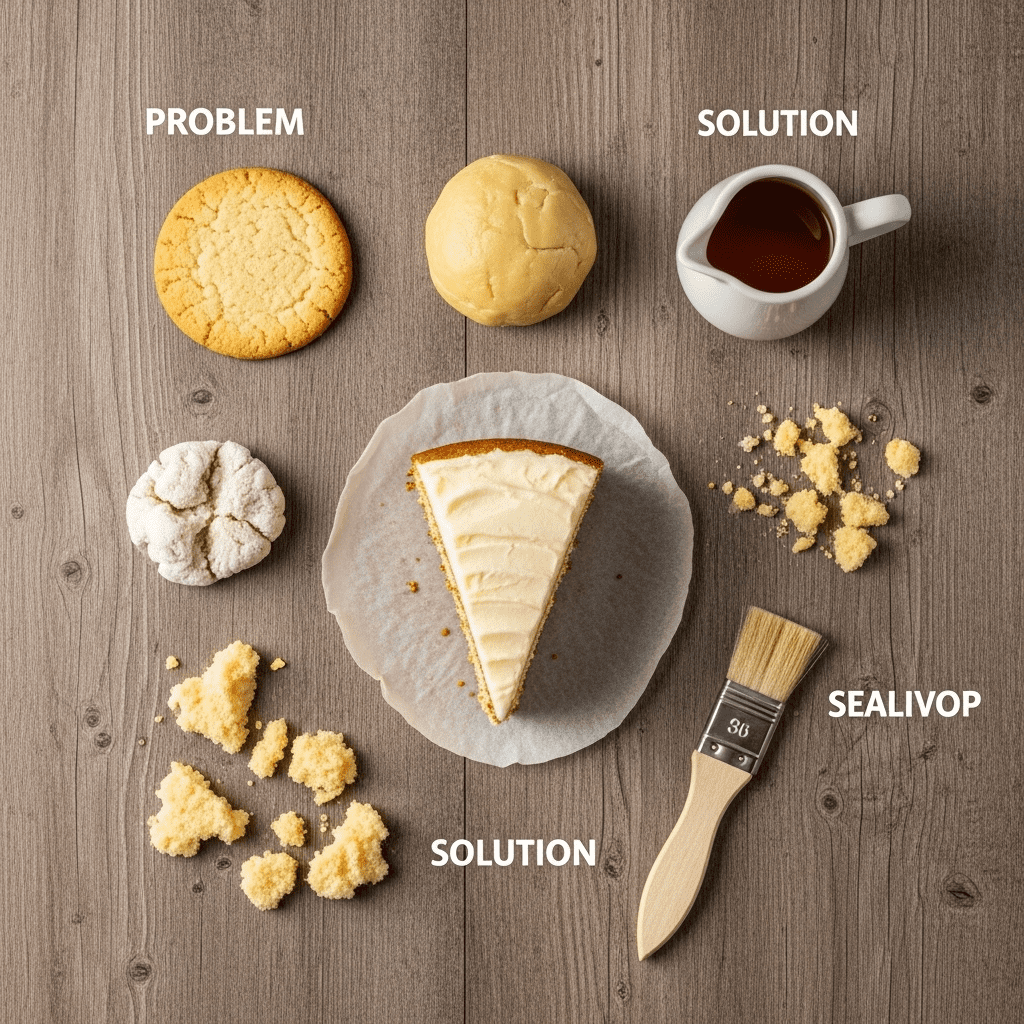
Baking Rescues: How to Fix the 5 Most Common Baking Mistakes
Hello, bakers! Baking is a science, and sometimes, our experiments don’t go exactly as planned. We have all had that moment of disappointment when a beautiful cake comes out of the oven dry, or our cookies spread into one giant, flat sheet.
But please, don’t throw it away! Many common baking disasters can be rescued. This guide will show you how to fix the five most common baking mistakes, so you can turn that “oops” moment into a delicious success.
1. The Problem: My Cake is Dry and Crumbly
This is the most heartbreaking baking disaster. You’ve spent so much time on it, and it just tastes sad.
The Simple Science: A cake is dry because it has lost its moisture. This usually happens from over-baking it, or from measuring the flour incorrectly (too much flour will soak up all the liquid).
The Rescue Plan: The Magic of a Simple Syrup
A simple syrup is a baker’s secret weapon for adding moisture back into a dry cake.
- Make the syrup. In a small saucepan, gently heat 1/2 cup of water and 1/2 cup of sugar until the sugar is completely dissolved. You can add a little vanilla extract for flavor. Let it cool slightly.
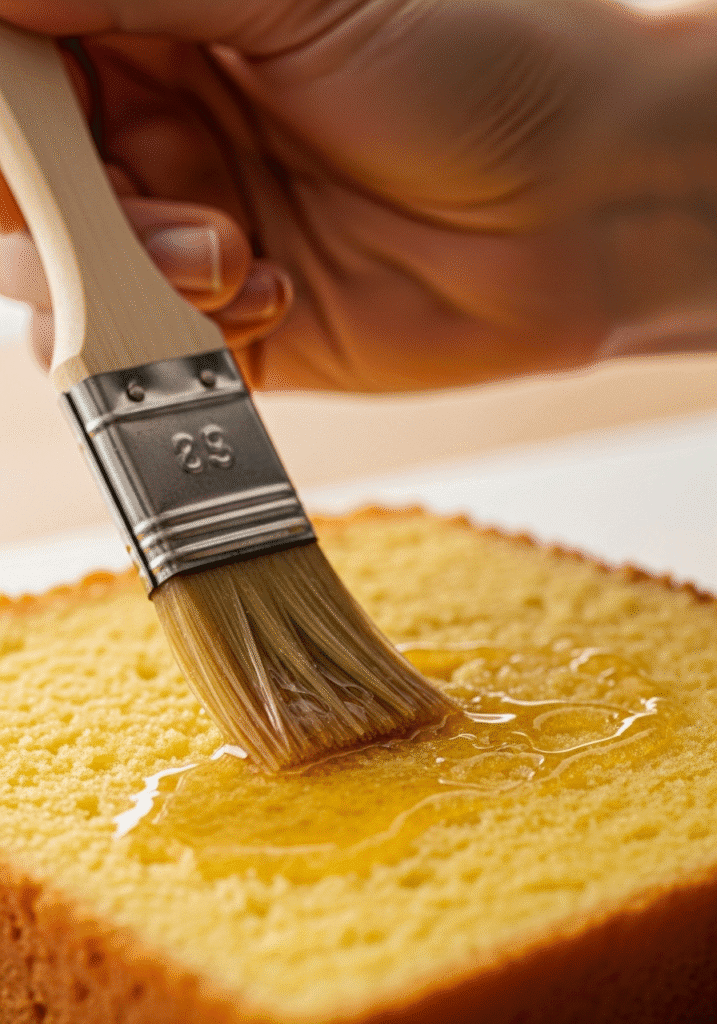
- Apply the syrup. Use a pastry brush to gently brush the simple syrup over the top of your cake layers. Or, for a very dry cake, you can poke holes all over the top with a skewer and then slowly pour the syrup over it.
- Let it soak in. The cake will absorb the syrup and become wonderfully moist and tender again.
The Ultimate Rescue: If the cake is truly beyond saving, just crumble it up and turn it into a beautiful trifle. Layer the cake crumbles in a glass dish with layers of pudding, whipped cream, and fresh fruit. No one will ever know it started as a mistake.
2. The Problem: My Cookies Spread Into a Giant, Flat Blob
You wanted 12 perfect cookies, but now you have one giant, thin, crispy cookie sheet.
The Simple Science: This almost always happens for one reason: your dough was too warm. When the butter in your cookie dough gets too warm, it melts instantly in the oven, which causes the cookies to spread out super fast before they have a chance to set.
The Rescue Plan: Chill Out
- The Immediate Fix: If the cookies are still edible, you can use a round cookie cutter or the rim of a glass to gently “scoot” the edges of the warm cookies back into a perfect circle right when they come out of the oven.
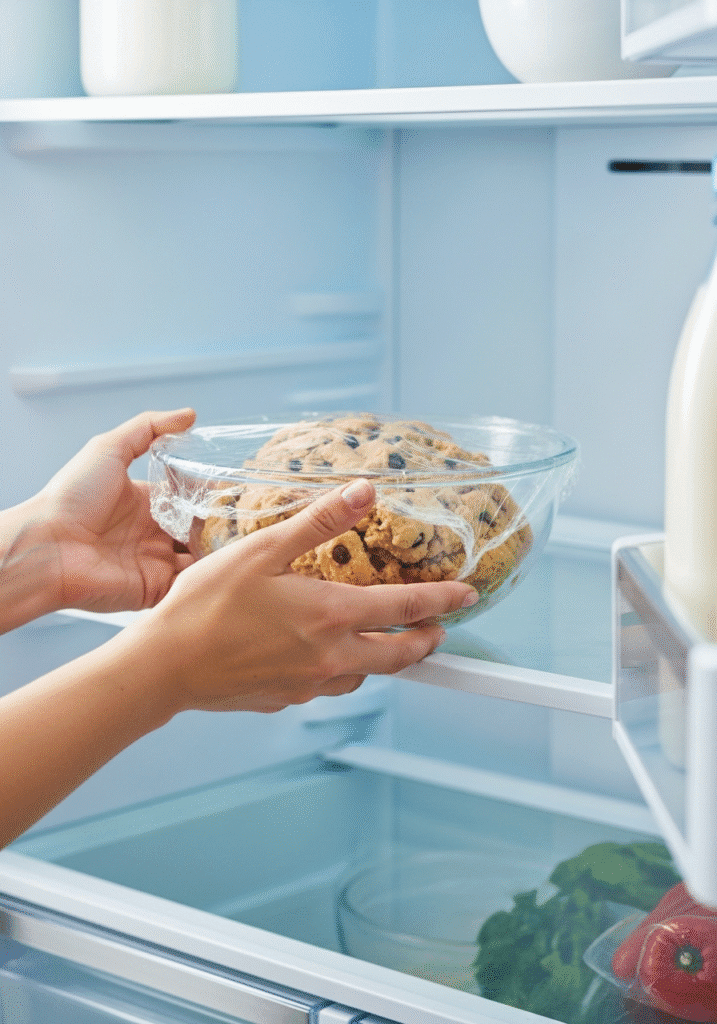
- The Real Rescue (For the rest of your dough): The most important step is to chill your dough. Place your bowl of cookie dough in the refrigerator for at least 30-60 minutes before you scoop and bake it. This solidifies the butter, which means your cookies will spread much more slowly and bake up perfectly thick and chewy.
3. The Problem: My Brownies are Dry or Cakey, Not Fudgy
You were hoping for rich, dense, fudgy brownies, but you got a dry, crumbly chocolate cake instead.
The Simple Science: “Fudgy” brownies have a higher ratio of fat (butter, chocolate) to flour. “Cakey” brownies have more flour and leavening agents (like baking powder). This problem usually comes from over-mixing the batter after you add the flour.
The Rescue Plan: The Frosting Fix

You can’t change the texture of the brownie after it’s baked, but you can rescue it with a delicious, moist topping.
- Make a rich chocolate frosting or ganache. Spread it generously over the top of the cooled brownies. The moisture from the frosting will make the whole experience much more decadent.
- Serve it like a dessert. Warm up a slice of your “cakey” brownie in the microwave for 15 seconds and serve it in a bowl with a big scoop of vanilla ice cream and a drizzle of chocolate sauce. Now it’s an intentional dessert, not a failed brownie.
4. The Problem: My Bread Didn’t Rise
You waited and waited, but your bread dough is still a dense, sad lump in the bowl.
The Simple Science: This means your yeast did not activate. This could be because your yeast was old, or the liquid you used was too hot and killed it.
The Rescue Plan: The “Proofing” Test

- Test your yeast. In a small bowl, dissolve a teaspoon of your yeast in a little warm water with a pinch of sugar.
- Wait 10 minutes. If the yeast is alive, the mixture will become foamy and bubbly.
- If it foams, try again. You can knead this new, active yeast mixture into your old dough. It might work.
- If it doesn’t foam, your yeast is dead. Sadly, this dough cannot be rescued. But don’t throw it out! You can press it thinly onto a baking sheet, brush it with olive oil and salt, and bake it into a crispy, unleavened flatbread.
5. The Problem: The Top of My Pie or Casserole is Burning!
The filling needs more time to cook, but the top is getting way too dark.
The Rescue Plan: The Foil Tent
This is the easiest and most effective rescue in all of baking.
- Get a piece of aluminum foil.
- Loosely “tent” the foil over the top of your pie or baking dish. Don’t wrap it tightly. You just want to shield the top from the direct heat of the oven.
- Continue baking. The foil will protect the top from burning while allowing the inside to finish cooking perfectly.
Baking can feel intimidating, but remember that every mistake is a lesson. By learning these simple rescues, you are on your way to becoming a fearless and confident baker.