The Best Easy Homemade Granola
Easy Homemade Granola (Better & Cheaper Than Store-Bought!)
Hello, kitchen heroes!
Have you ever stood in the cereal aisle, looked at the price of a small bag of granola, and thought, “Really?!” I know I have. Store-bought granola can be so expensive, and it’s often packed with way more sugar than you’d expect.
I’m here to tell you a little secret: making your own granola at home is one of the easiest, most rewarding things you can do in your kitchen. This is your official rescue from the overpriced cereal aisle.
This recipe for easy homemade granola will fill your home with the most incredible, warm, toasty aroma. It’s a simple, flexible formula that guarantees you get those big, crunchy clusters we all love. Let’s make a breakfast you can feel truly great about.
Why You’ll Love This Recipe
- So Much Healthier: You control the amount of sugar and oil.
- Budget-Friendly: It’s a fraction of the cost of fancy store-bought brands.
- Incredibly Easy: If you can stir and spread, you can make this granola.
- Completely Customizable: Use your favorite nuts, seeds, and dried fruits!
Why Homemade Granola is a True Rescue
In my old job, I wrote a lot of “healthy” recipes that were secretly very complicated. They were designed to look good, not to be a practical part of a real person’s life. This is the opposite of that.
Making your own granola is an honest win. It’s a simple act that has three huge benefits.
- You control the ingredients. This is the most important part. You get to decide how much sugar and what kind of sugar goes in. You get to choose the healthy fats. You can pack it full of the nuts and seeds you actually like.
- It saves you money. The basic ingredients for granola—oats, a little oil, a little sweetener—are incredibly cheap. You can make a huge batch of delicious, healthy granola for the price of one small, fancy bag from the store.
- It’s incredibly easy. The process is simple: you stir a few things together, you spread it on a pan, and you bake it. That’s it. The oven does all the hard work.
The Two Secrets to Perfectly Crunchy, Clustery Granola
Everyone wants granola that has those big, satisfying, crunchy clusters. For years, mine always came out a little sad and sandy. Then I learned the two simple secrets that changed everything.
Secret #1: Press it Down.
Before you put the pan in the oven, use the back of a spatula to gently press the granola mixture down into a firm, even layer. This encourages the oats to stick together as they bake, which is the first step to forming big clusters.
Secret #2: Do Not Touch it While it Cools!
This is the most important rule. It is the ultimate test of your patience. When you take the granola out of the oven, it will still feel a little soft. The magic happens as it cools. The sugars will harden and create that amazing crunchy texture. You must let the granola cool completely on the baking sheet, undisturbed, for at least an hour. Do not stir it. Do not touch it. If you do, you will break up all those beautiful clusters before they have a chance to form.
The Basic Formula
Think of this as a template, not a strict recipe. You can swap out the nuts, seeds, and spices based on what you have and what you like.
- The Base: Old-fashioned rolled oats. Do not use instant or quick-cook oats; they will turn to mush.
- The Crunch: Your favorite raw nuts and seeds. I love a mix of sliced almonds and pecans, with a few pumpkin seeds.
- The Binder (The Wet Stuff): This is the glue that holds it all together. It’s a simple mix of a liquid sweetener (like pure maple syrup or honey) and a healthy fat (like melted coconut oil or avocado oil).
- The Flavor: A little bit of vanilla extract, a pinch of salt, and a sprinkle of a warm spice like cinnamon are essential.
- The Chew (Added Last!): Your favorite dried fruit, like raisins, dried cranberries, or chopped apricots.
The Best Easy Homemade Granola
Ingredients
4 cups old-fashioned rolled oats (not instant or quick-cook)
1 1/2 cups raw nuts and/or seeds (like sliced almonds, pecans, walnuts, or pumpkin seeds)
1/2 cup pure maple syrup or honey
1/2 cup melted coconut oil (or a neutral oil like avocado oil)
1 teaspoon vanilla extract
1/2 teaspoon ground cinnamon
1/2 teaspoon fine sea salt
1 cup dried fruit (like raisins, dried cranberries, or chopped apricots) – to be added AFTER baking!
Instructions
Preheat & Prepare: Preheat your oven to 325°F (165°C). Line a large baking sheet with parchment paper.
Combine Dry Ingredients: In a large bowl, mix together the rolled oats, nuts, seeds, cinnamon, and salt.
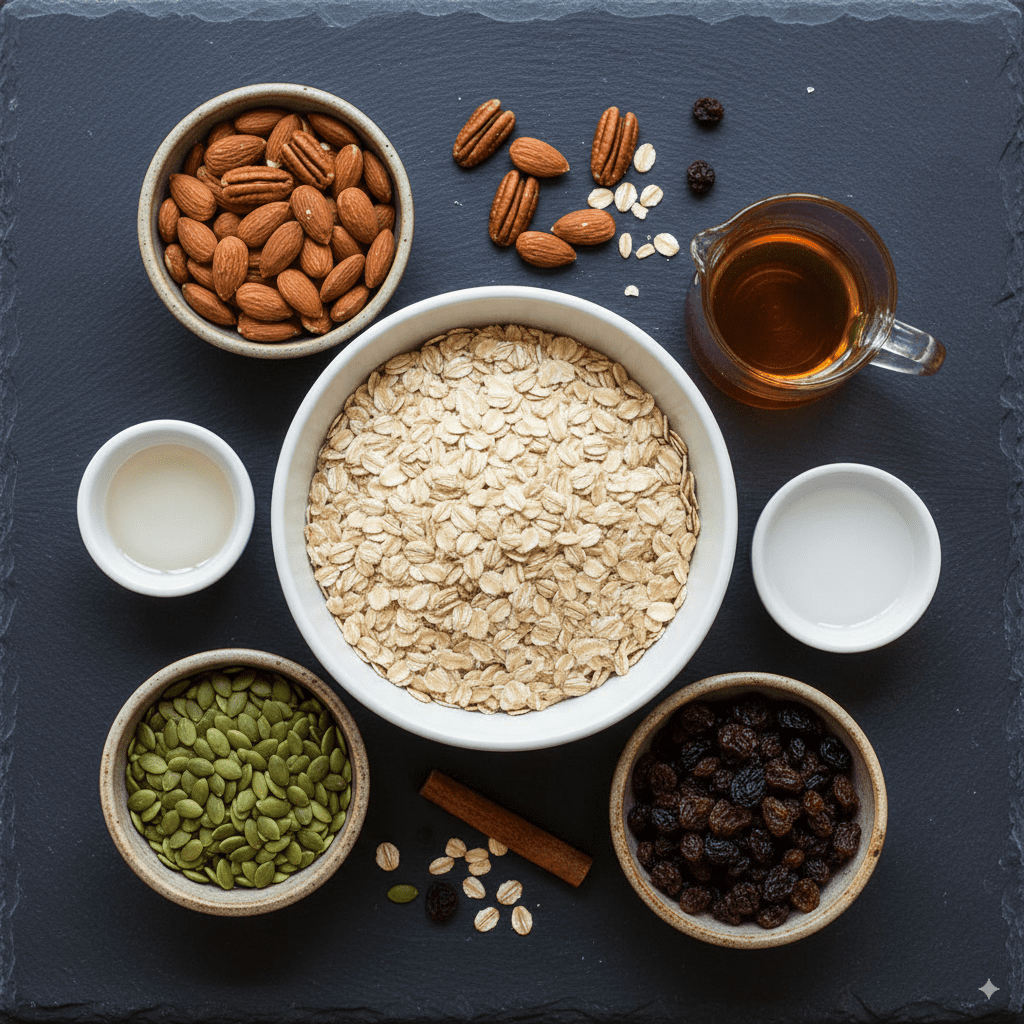
Combine Wet Ingredients: In a small bowl, whisk together the maple syrup, melted coconut oil, and vanilla extract.
Mix Everything: Pour the wet ingredients over the dry oat mixture. Stir very well until every single oat and nut is evenly coated.
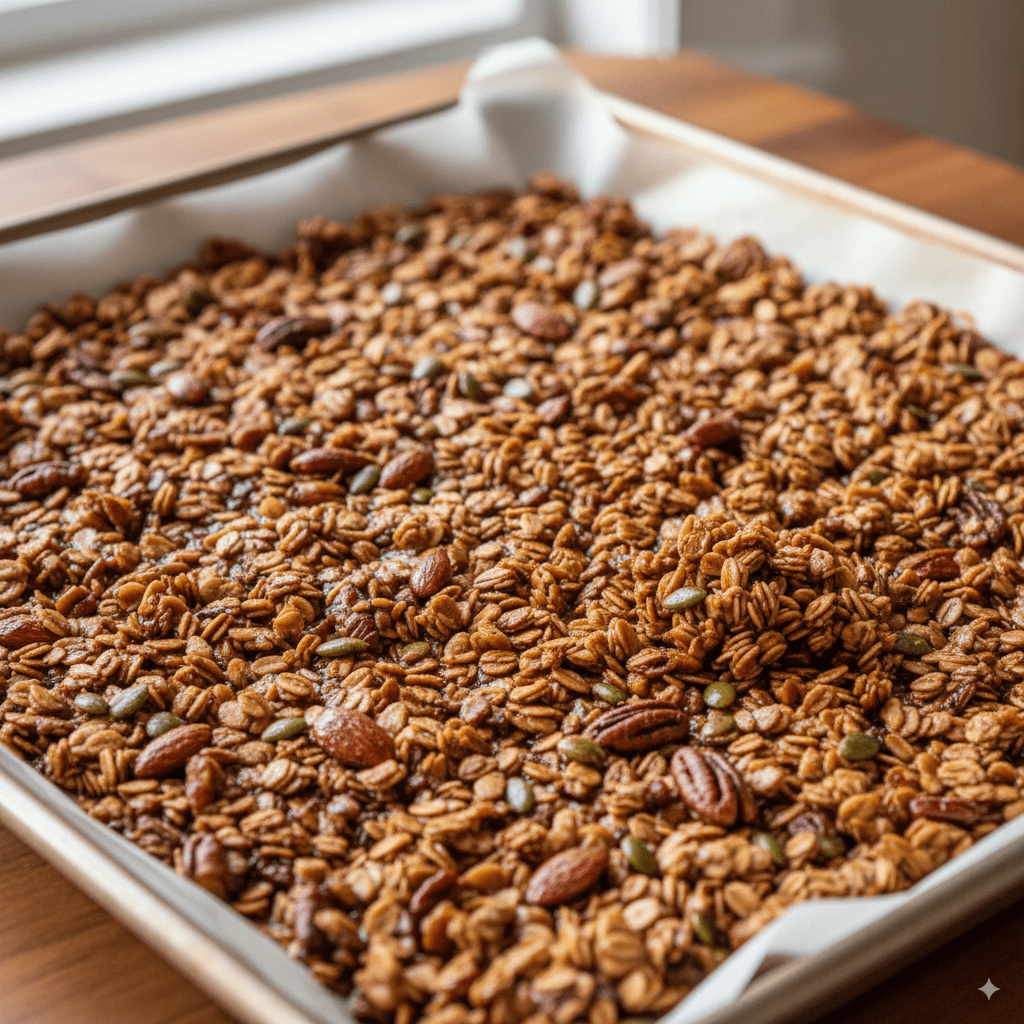
Spread on Pan: Pour the granola mixture onto your prepared baking sheet. Use a spatula to spread it into a thin, even layer. Gently press down on the granola to help form clusters.
Bake: Bake for 25-30 minutes, stirring the granola halfway through, until it is a light golden brown.
Cool Completely (The Most Important Step!): Remove the pan from the oven and let the granola cool completely on the baking sheet without stirring it. This is the secret to getting big, crunchy clusters!
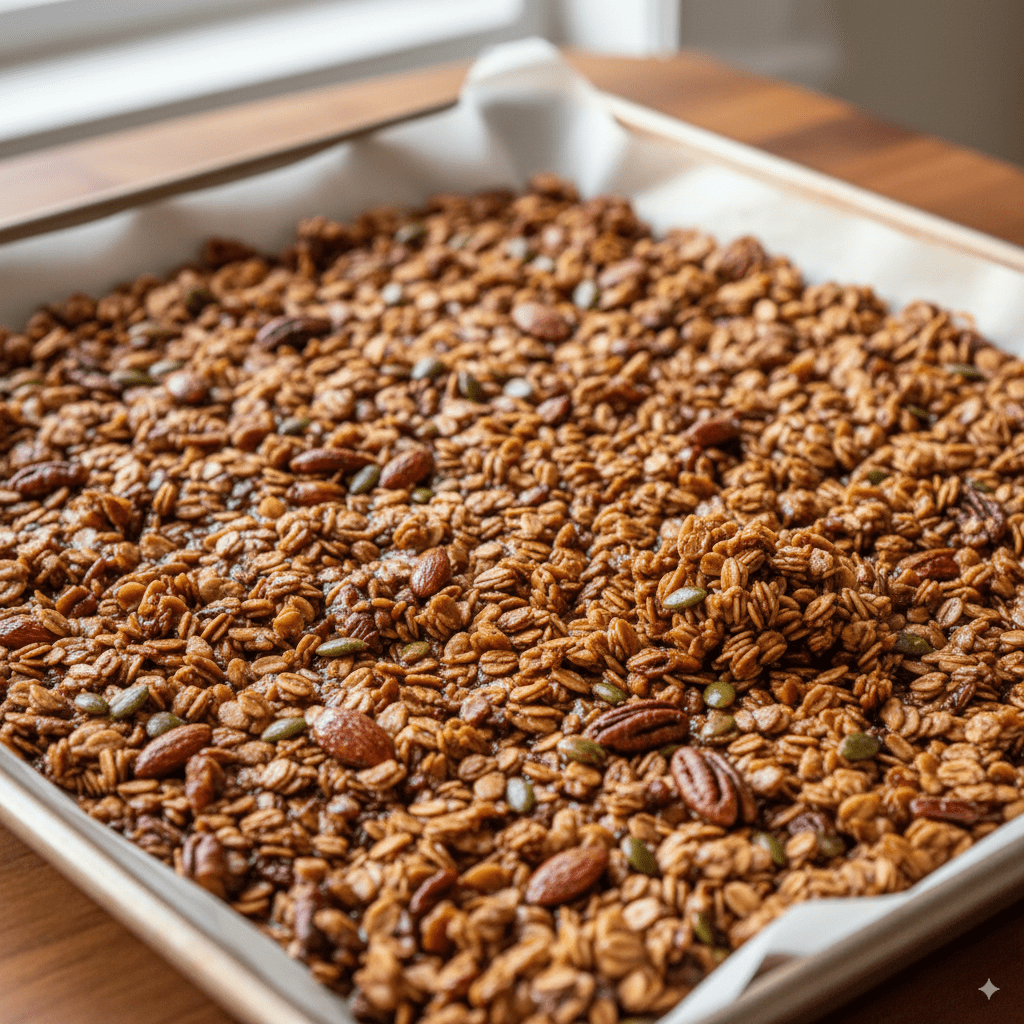
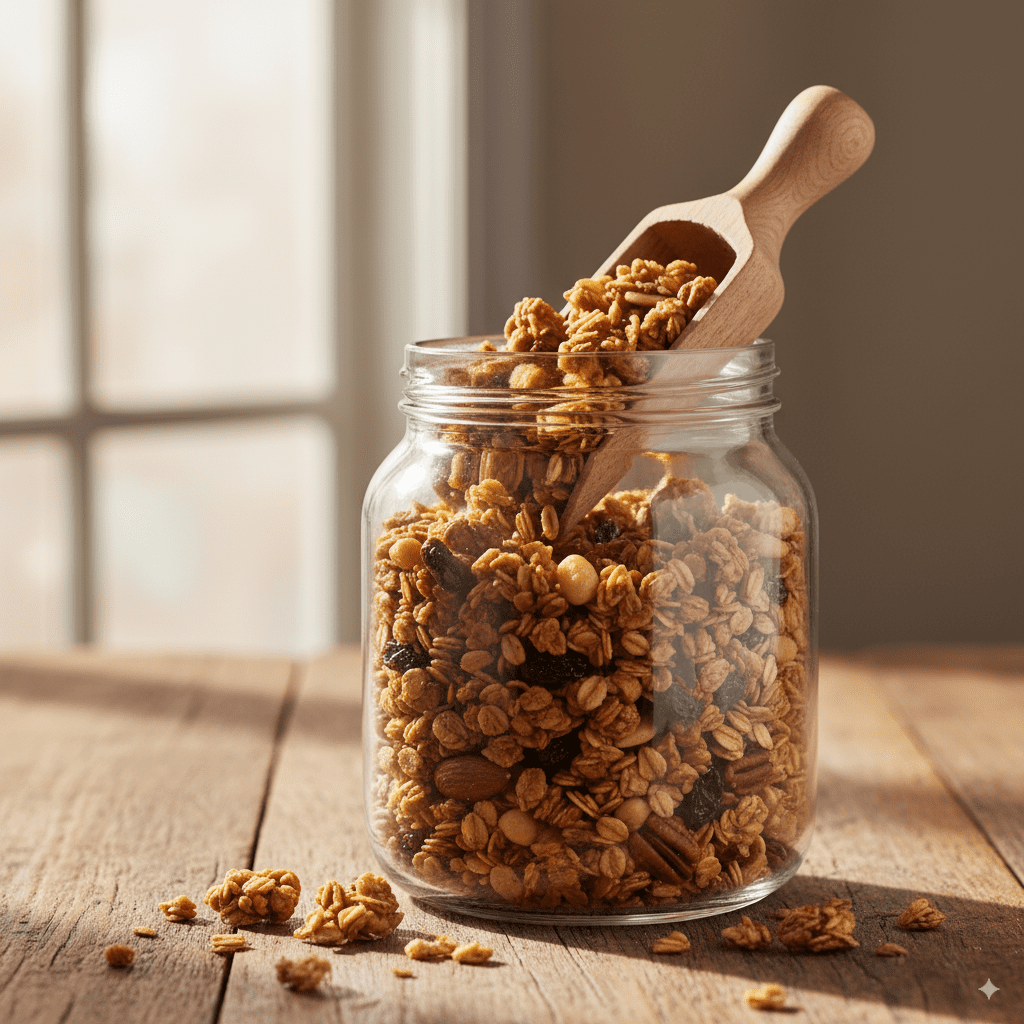
Add Fruit & Store: Once the granola is completely cool, break it up into clusters with your hands. Now, you can stir in your dried fruit. Store in an airtight container at room temperature for up to two weeks.
Notes
Notes
- For the Best Clusters: Do not skip the cooling step! The granola becomes crunchy as it cools down. If you stir it while it’s warm, you will break up all the potential clusters.
- Add Dried Fruit LAST: Always add your dried fruit after the granola has been baked and cooled. If you add it before, it will burn and become hard.
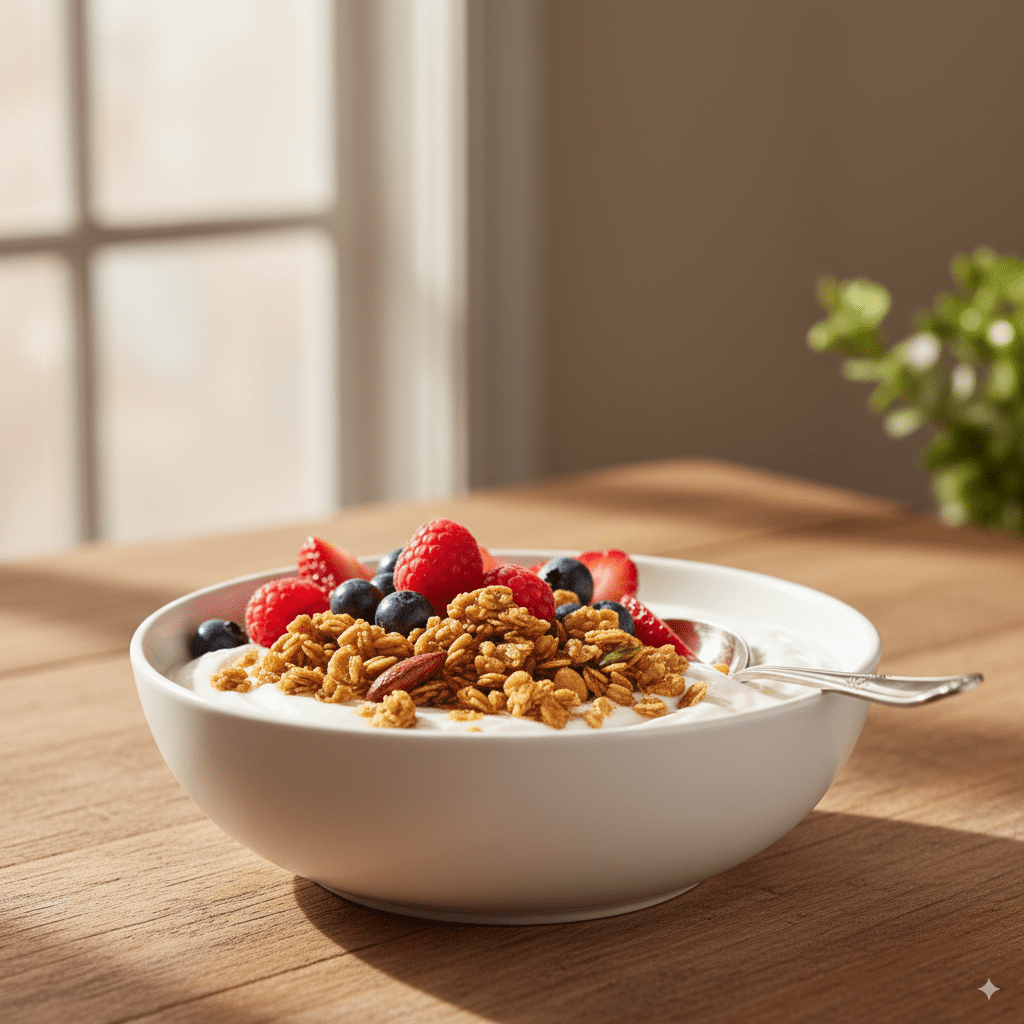
- Serving Ideas: This is amazing with milk, sprinkled over a bowl of yogurt, or just eaten by the handful as a healthy snack.
Kitchen Rescue Tips!
- The Problem: “My granola is chewy, not crunchy!”
- The Quick Fix: This means it was either slightly underbaked or you didn’t let it cool completely. You can spread it back on the baking sheet and bake it for another 5-10 minutes at a lower temperature (300°F/150°C) to dry it out more. Then, let it cool completely.
- The Problem: “My granola burned!”
- The Rescue: This usually happens if your oven runs hot or the granola was on a rack too close to the top. Next time, try reducing the oven temperature slightly and check it 5 minutes earlier. Every oven is a little different!
- The Problem: “I don’t have any big clusters!”
- The Rescue: This is the easiest fix for next time! Remember to gently press the granola down on the pan before baking, and do not stir it at all while it is cooling. This forces it to stick together and create those amazing clusters you love.
| Nutrition Facts | |
|---|---|
| Servings: 3 | |
| Amount per serving | |
| Calories | 181 |
| % Daily Value* | |
| Total Fat 0.3g | 0% |
| Saturated Fat 0.1g | 0% |
| Cholesterol 0mg | 0% |
| Sodium 6507mg | 283% |
| Total Carbohydrate 28.8g | 10% |
| Dietary Fiber 8.9g | 32% |
| Total Sugars 14.5g | |
| Protein 0.7g | |
| Vitamin D 0mcg | 0% |
| Calcium 182mg | 14% |
| Iron 2mg | 9% |
| Potassium 155mg | 3% |
A Few Final Rescue Tips
- Always add the dried fruit at the end. This is a very common mistake. If you bake the dried fruit with the rest of the granola, it will burn and turn into hard, bitter little rocks. You must wait until the granola has completely cooled, and then stir in your dried fruit.
- Don’t be afraid of the salt. A good pinch of salt is essential in granola. It doesn’t make it taste salty. It balances out the sweetness of the maple syrup and makes the toasty flavor of the oats and nuts pop.
- Every oven is different. Keep an eye on your granola as it bakes. You are looking for a light, even golden-brown color. If you notice the edges are browning too quickly, give it a gentle stir and reduce the oven temperature slightly.
Your Breakfast is Rescued
That’s it. You now have a big, beautiful jar of healthy, delicious, and affordable granola sitting on your counter. It’s ready to rescue your busy mornings. Serve it with milk, sprinkle it over a bowl of yogurt, or just eat it by the handful.
This is more than just a recipe. It’s a simple skill that will serve you for years to come. It’s an honest, delicious, and resourceful way to start your day.
What are your favorite nuts or dried fruits to put in your granola? I would love to hear your creative ideas in the comments.
1 thought on “The Best Easy Homemade Granola”