The Ultimate 10-Minute Tuna Melt
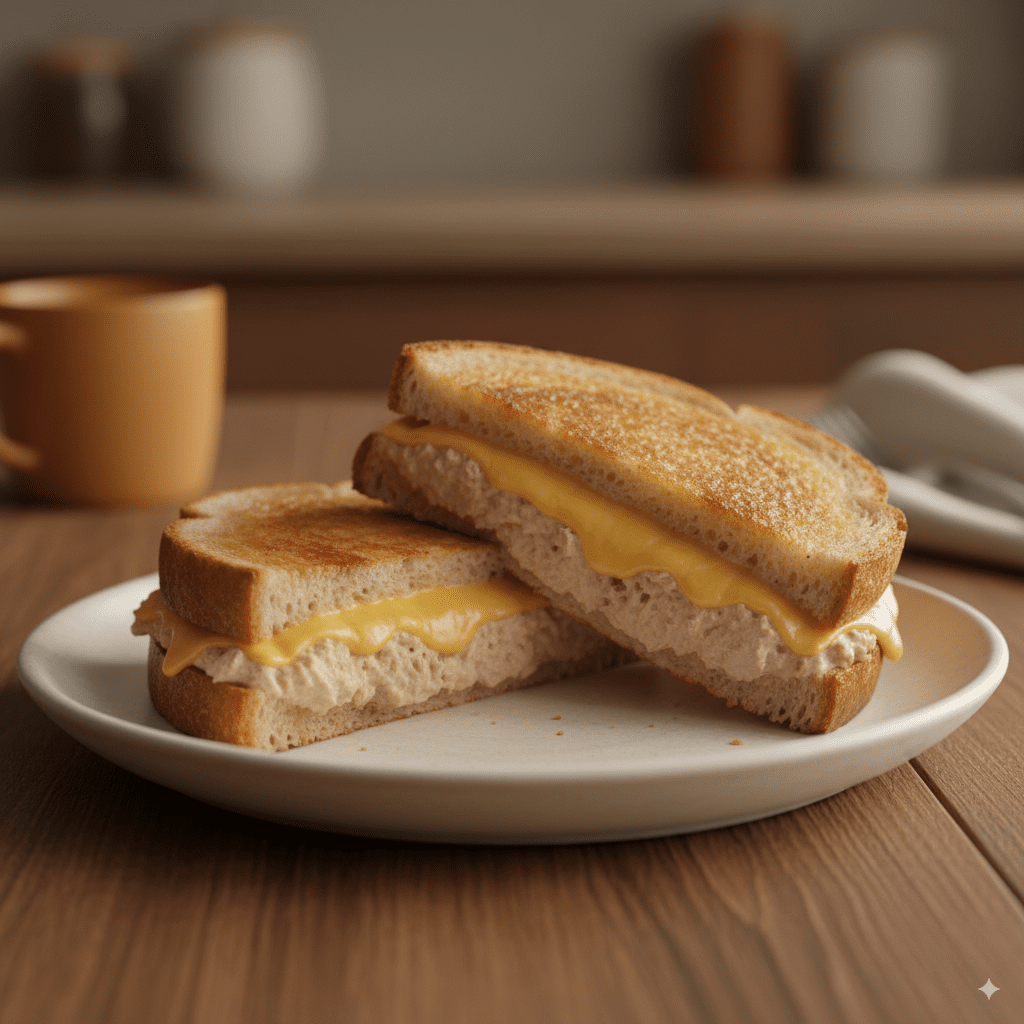
The Ultimate 10-Minute Tuna Melt (No Soggy Bread!)
Hello, lovely cooks!
Some days just call for a meal that feels like a warm, cheesy hug. For me, that meal is almost always a perfectly crispy, gooey, classic 10-minute tuna melt.
This isn’t just a sandwich. It’s a full-on dinner rescue that you can make in about 10 minutes using ingredients you probably have in your pantry right now. I’ve also cracked the code on the two biggest tuna melt problems: bland tuna salad and soggy bread.
This recipe will give you a tuna melt that is perfectly golden and crispy on the outside, with a warm, flavorful, and cheesy center. Let’s make the best tuna melt of your life!
The Honest Truth About Tuna Melts
In my old job writing for other blogs, I saw a lot of “gourmet” tuna melt recipes. They had fancy imported cheeses, expensive artisan bread, and a dozen different ingredients in the tuna salad. They were designed to look impressive, but they completely missed the point.
A tuna melt is not supposed to be fancy. It’s supposed to be a simple, honest, and deeply satisfying meal that you can make in minutes from things you already have. It’s a rescue meal.
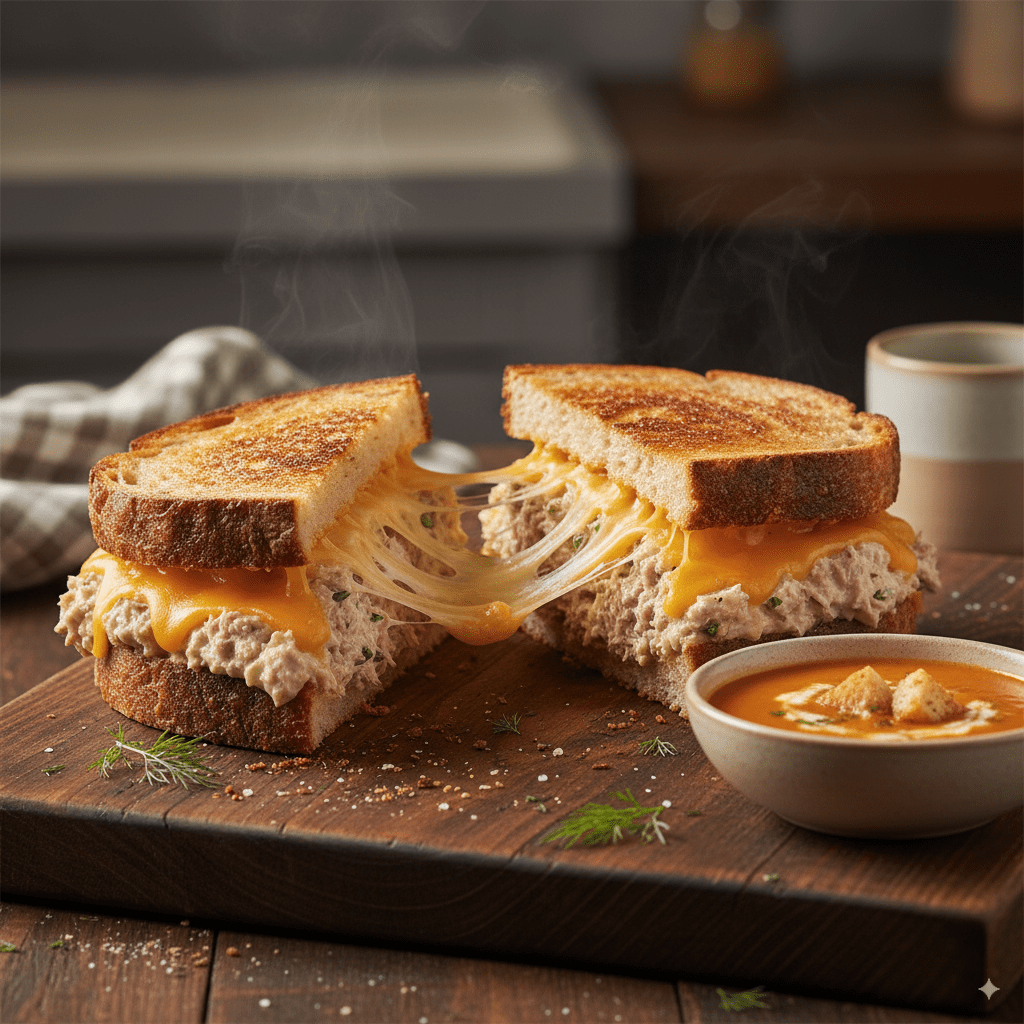
But there’s a difference between a good tuna melt and a great one. A good one is just a heated sandwich. A great one is a masterpiece of textures: a perfectly crispy, golden-brown crust on the outside, and a warm, creamy, cheesy, flavorful filling on the inside.
For years, mine were always just “good.” They were often a little soggy, and the tuna salad was a bit boring. But then I learned the two simple secrets that changed everything.
Secret #1: The Double Cheese Barrier (The Soggy Bread Rescue)
This is the most important secret. This is the rescue for soggy bread.
The Problem: You pile your creamy tuna salad onto a piece of bread. The moisture from the salad immediately starts to soak into the bread. By the time you’ve grilled it, the inside of your sandwich is a sad, wet, and steamy mess.
The Rescue: We build a wall. A delicious wall made of cheese. Instead of putting the cheese on top of the tuna salad, you put one slice of cheese on the bottom piece of bread, and another slice of cheese on the top piece of bread. Then, you put the tuna salad in the middle, nestled safely between the two slices of cheese.
This creates a “cheese barrier” that protects the bread from the moisture of the tuna salad. It’s a simple, brilliant trick that guarantees a crispy, perfectly grilled sandwich every single time.
Secret #2: The Crispy Crust Trick (The Mayo Secret)
The second secret is how you grill the outside of the bread.
The Traditional Way: Most people spread butter on the outside of the bread. This is a great method, and it works.
The Better Way: But if you want a more even, more golden-brown, and arguably even crispier crust, I’m going to ask you to trust me on this. Use mayonnaise.
I know it sounds strange. But spread a very thin, even layer of mayonnaise on the outside of your bread instead of butter. Mayonnaise is mostly made of oil and egg, and its stable, emulsified texture allows it to brown more evenly and slowly than butter, which can burn quickly. It doesn’t make the sandwich taste like mayonnaise. It just makes it taste perfectly toasty and golden. It’s a classic diner secret, and it’s a total rescue for your grilled sandwiches.
The Tuna Salad: Keeping it Simple and Flavorful
You don’t need a dozen ingredients to make a great tuna salad. You just need a few good ones.
A Little Acid: This is the flavor rescue. A small squeeze of fresh lemon juice or a teaspoon of pickle relish will cut through the richness of the mayo and make the whole salad taste bright and alive.
Good Canned Tuna: I prefer tuna packed in olive oil for the best flavor, but tuna in water works perfectly too. The most important step is to drain it very, very well. Any extra water is an enemy of a crispy sandwich.
A Little Crunch: Finely chopped celery and red onion are essential. They add a fresh, crunchy texture that is a perfect contrast to the creamy tuna and melted cheese.
Why You’ll Love This Recipe
- Ready in 10 Minutes: The ultimate fast and satisfying meal.
- Pantry-Friendly: Made with simple staples like canned tuna and bread.
- Perfectly Crispy: Our secret tip guarantees your bread will be golden-brown, never soggy.
- The Ultimate Comfort Food: It’s cheesy, warm, and incredibly delicious.
The Ultimate 10-Minute Tuna Melt
Ingredients
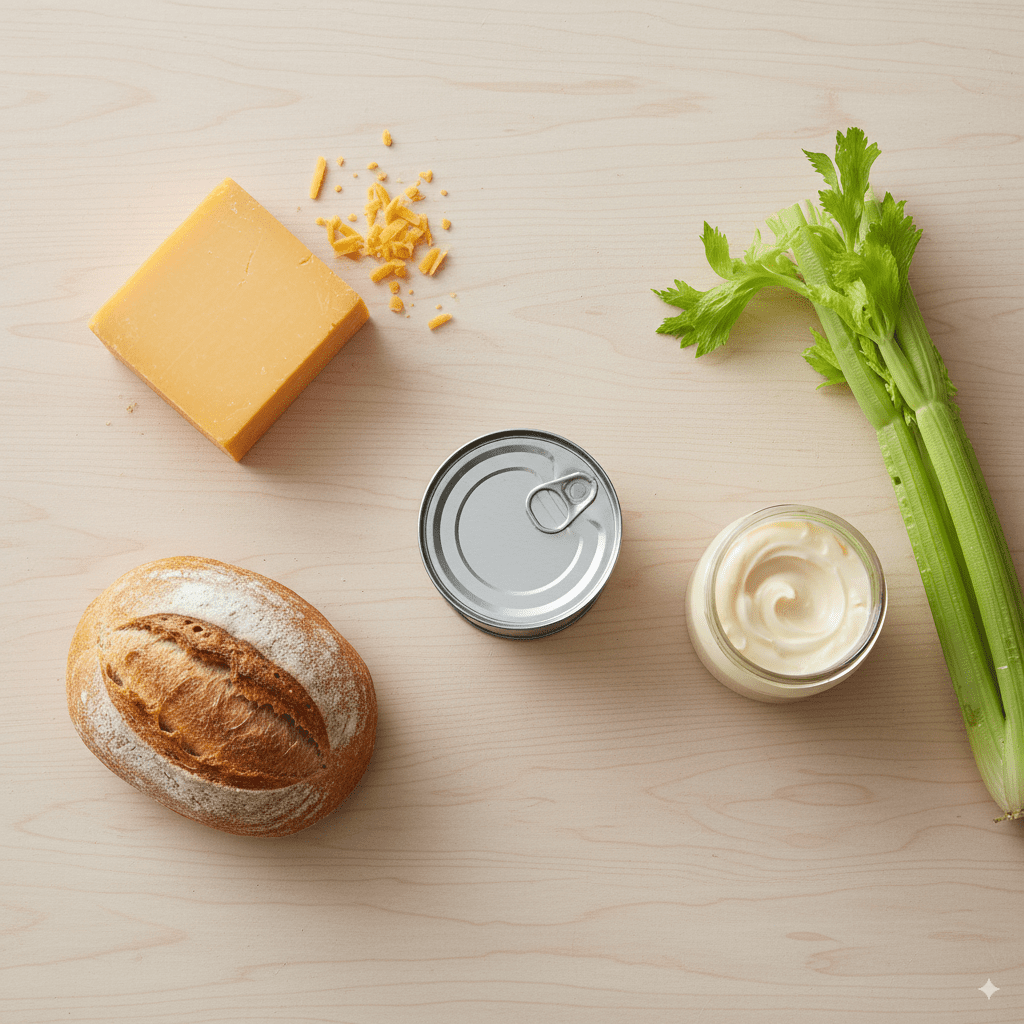
1 can (5-ounce) tuna in water or oil, drained very well
1/4 cup mayonnaise, plus more for the bread
2 tablespoons celery, finely chopped
1 tablespoon red onion, finely chopped
1 teaspoon fresh lemon juice or pickle relish
Salt and black pepper, to taste
4 slices of your favorite sandwich bread (sourdough or a sturdy white bread work best)
4 slices of sharp cheddar, provolone, or Swiss cheese
1 tablespoon unsalted butter (or use more mayonnaise for the outside)
Instructions
Make the Tuna Salad: In a medium bowl, flake the drained tuna with a fork. Add the mayonnaise, finely chopped celery, red onion, and lemon juice. Mix everything together until just combined. Season with salt and pepper to taste.
Assemble the Sandwiches: Lay out your four slices of bread. Place one slice of cheese on each slice of bread. (This protects the bread from getting soggy!) Divide the tuna salad evenly and spread it on top of the cheese on two of the slices. Top with the other two slices of bread, cheese-side down.
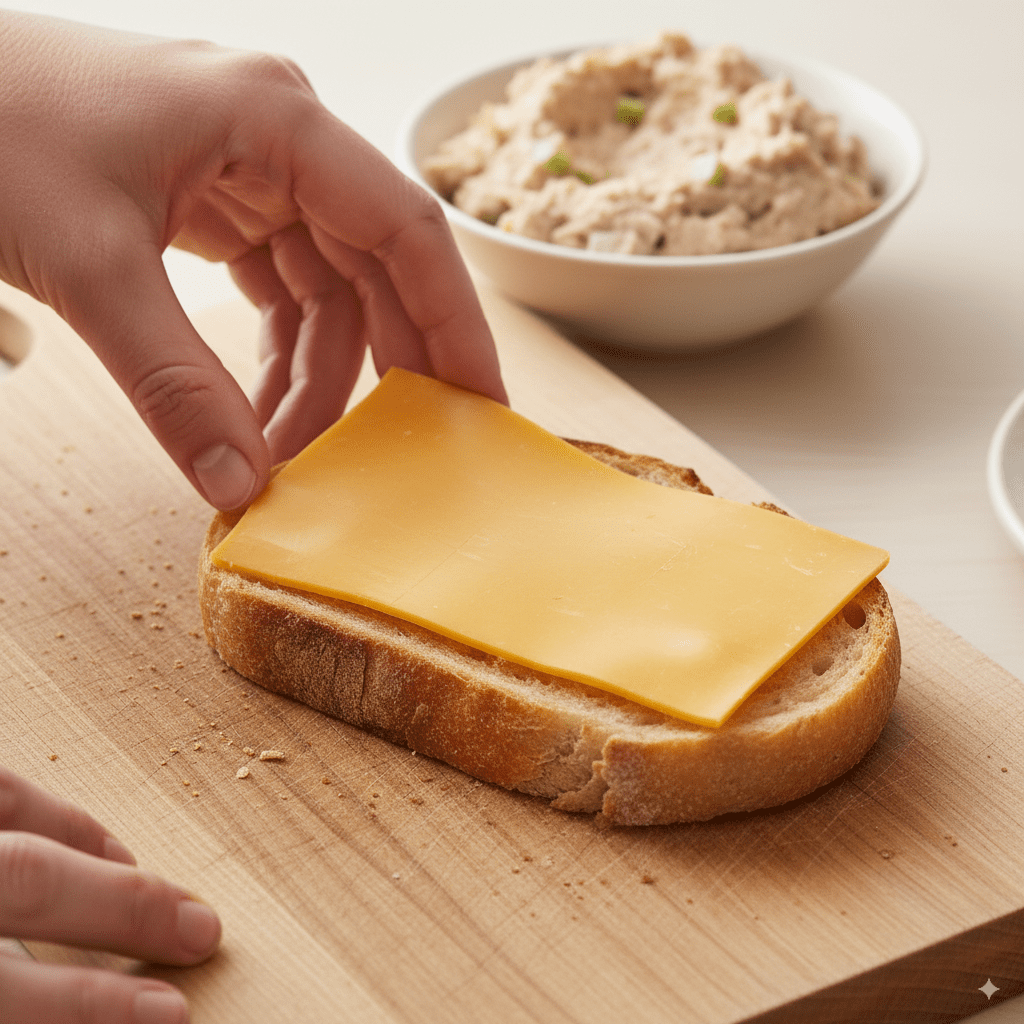
Prepare for Grilling: Lightly spread the outside of each sandwich with either softened butter or a thin layer of mayonnaise. (The mayo trick is a secret to an extra crispy, golden crust!)
Grill the Melts: Heat a non-stick skillet over medium-low heat. Place the sandwiches in the pan and cook for 3-4 minutes per side, until the bread is deeply golden-brown and the cheese is completely melted and gooey.
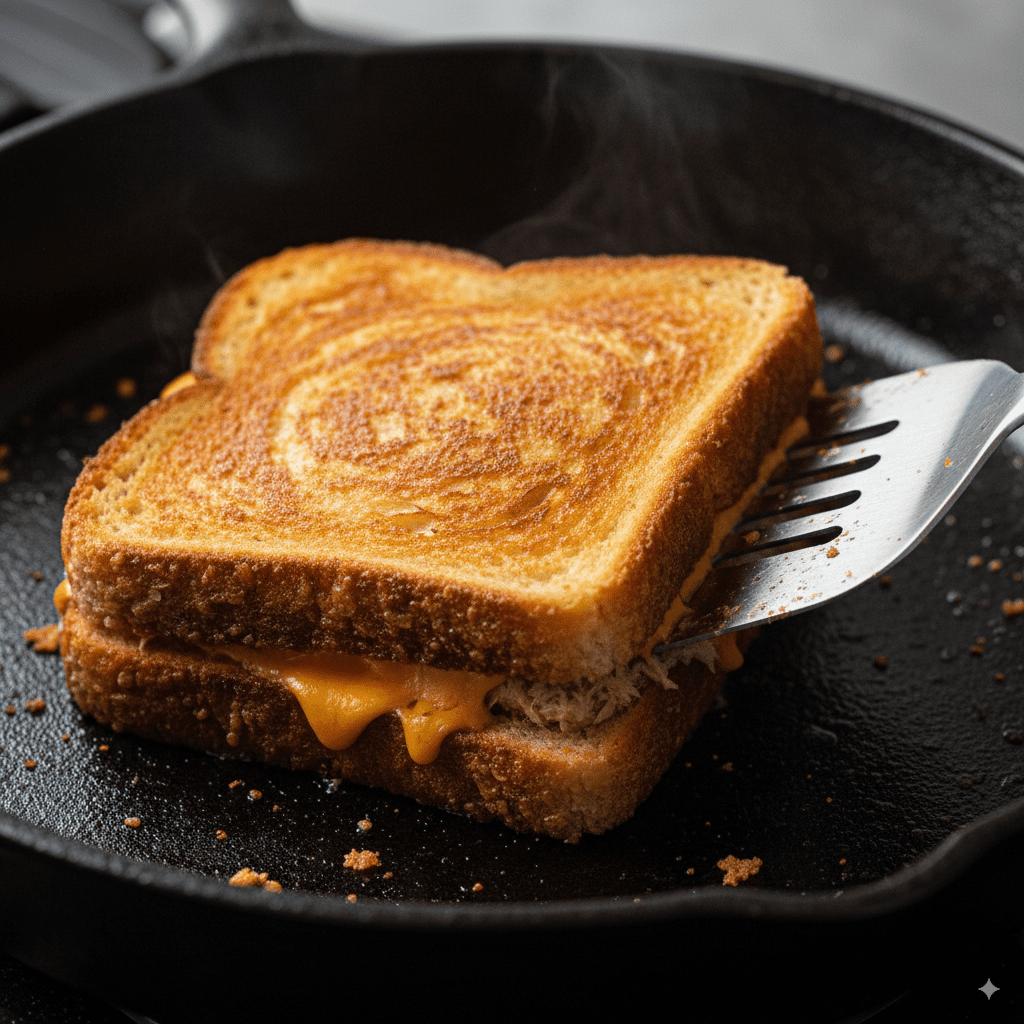
Serve Immediately: Slice the tuna melts in half and serve while they’re warm and cheesy.
Notes
Notes
- Best Bread: A sturdy bread like sourdough, rye, or a thick-cut country white bread works best and won’t get soggy.
- Best Cheese: A good melting cheese is key! Sharp cheddar, provolone, Swiss, or even Monterey Jack are all fantastic choices.
- The Mayo Trick: Spreading a thin layer of mayonnaise on the outside of the bread instead of butter gives you a more even, golden-brown, and crispy crust. Try it!
Kitchen Rescue Tips!
- The Problem: “My tuna melts are always soggy!”
- The Quick Fix: There are two secrets. First, drain your tuna very well. Second, putting a slice of cheese on both the top and bottom pieces of bread creates a barrier that stops the tuna salad from making the bread wet.
- The Problem: “My cheese isn’t melting but my bread is burning!”
- The Rescue: Your heat is too high. A perfect grilled sandwich is made on medium-low heat. If you’re still having trouble, place a lid on the skillet for the last minute of cooking. This traps the steam and helps melt the cheese perfectly
| Nutrition Facts | |
|---|---|
| Servings: 2 | |
| Amount per serving | |
| Calories | 1907 |
| % Daily Value* | |
| Total Fat 111.2g | 143% |
| Saturated Fat 63.2g | 316% |
| Cholesterol 316mg | 105% |
| Sodium 1971mg | 86% |
| Total Carbohydrate 154.9g | 56% |
| Dietary Fiber 19.7g | 70% |
| Total Sugars 22.6g | |
| Protein 87.6g | |
| Vitamin D 116mcg | 580% |
| Calcium 2591mg | 199% |
| Iron 16mg | 87% |
| Potassium 1310mg | 28% |
A Few Final Rescue Tips
- Low and Slow Heat: Just like with scrambled eggs, the secret to a perfect grilled sandwich is to not rush it. Use medium-low heat. This gives the cheese enough time to get perfectly melty and gooey on the inside without the bread burning on the outside.
- Press it Down: When you place your sandwich in the pan, use your spatula to gently press it down for a few seconds. This helps to create a perfect, even contact between the bread and the pan, which leads to a better crust.
Your Lunch is Rescued
That’s it. You now have the simple, honest secrets to making a truly perfect tuna melt. This is a meal that proves you don’t need a lot of time or fancy ingredients to make something deeply comforting and delicious. It is a testament to the power of a well-stocked pantry and a few good techniques. Ultimately, this is the perfect 10-minute rescue. you don’t need a lot of time or a lot of fancy ingredients to make something deeply comforting and delicious.
It’s a testament to the power of a well-stocked pantry and a few good techniques. It’s the ultimate 10-minute rescue.
1 thought on “The Ultimate 10-Minute Tuna Melt”