Professional Chef Hygiene: Master the Fundamentals
Professional Chef Hygiene: Master the Fundamentals
Ever wonder why restaurant food tastes so good but rarely makes you sick? It’s not magic—it’s professional chef hygiene standards that most home cooks have never learned.
Professional kitchens follow strict hygiene rules that keep millions of diners safe every day. But here’s the thing: these same standards can transform your home cooking from risky to restaurant-quality safe.
Why Chef Hygiene Standards Matter in Your Kitchen
Restaurant kitchens serve hundreds of people daily. Meanwhile, they maintain incredibly low rates of foodborne illness. That’s because professional hygiene isn’t just about cleanliness—it’s a complete system.
Food poisoning sends 128,000 Americans to the hospital every year. However, most cases happen at home, not in restaurants. The difference? Professional standards.
So let’s break down exactly what the pros do differently. And more importantly, how you can use these techniques in your own kitchen.
Personal Hygiene: The Foundation Everything Builds On
Your Hands Are Everything
Professional chefs wash their hands way more than you think. The standard isn’t “when they look dirty”—it’s every single time they switch tasks.
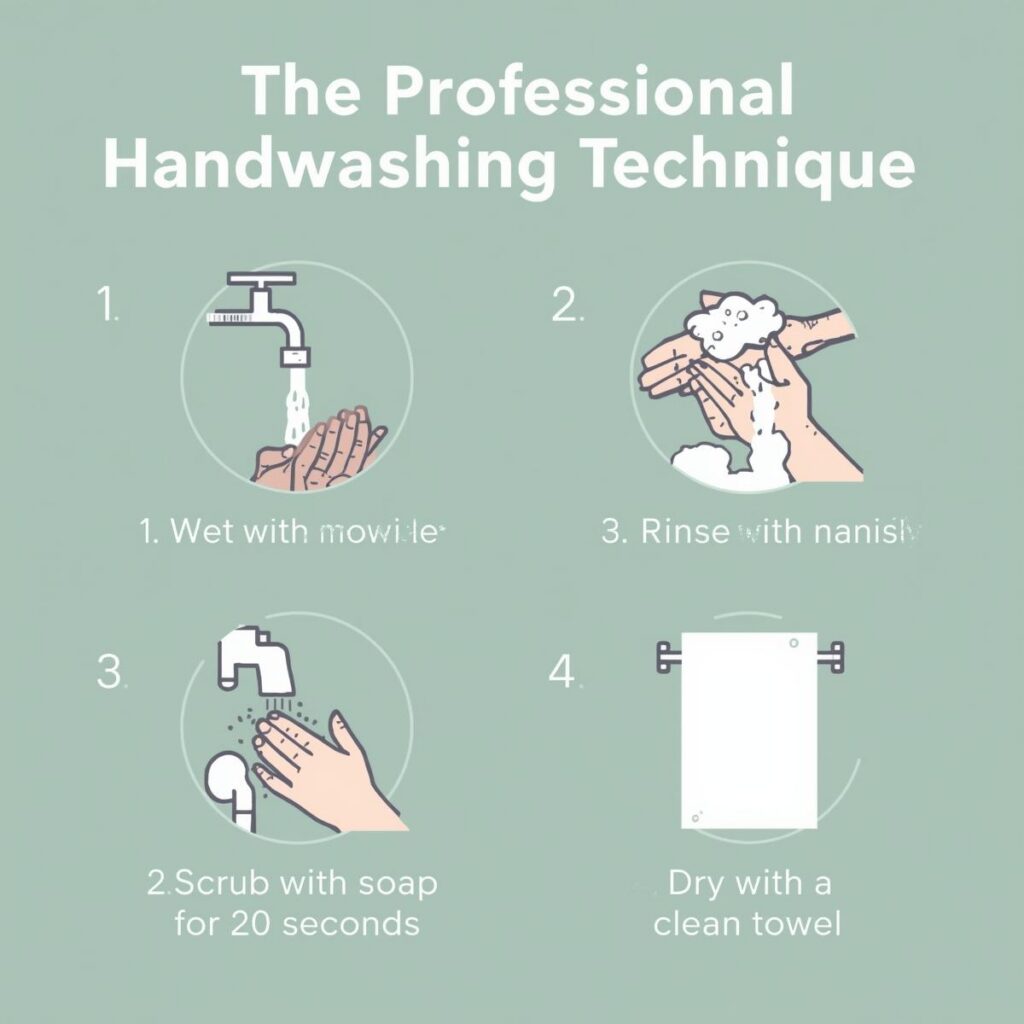
Here’s the professional handwashing technique:
First, wet your hands with warm water. Then apply soap and scrub for exactly 20 seconds. Make sure you get between your fingers, under your nails, and up your wrists.
But timing matters. Count to 20 or sing “Happy Birthday” twice. Most people only scrub for 6-8 seconds, which doesn’t kill bacteria.
After that, dry with a clean towel or air dry. Never use your apron or pants—that just puts bacteria right back on your hands.
When Professionals Wash Their Hands
Before starting work. After using the bathroom. Next touching raw meat, poultry, or seafood. After handling dirty dishes or equipment. Then touching your face, hair, or clothes. After sneezing or coughing. Before putting on gloves.
It sounds like a lot. However, this frequency is what keeps professional kitchens safe. And it’s exactly what you should do at home.
Most home cooks wash their hands once at the start of cooking. Professionals wash them 15-20 times during meal prep. That’s the difference between amateur and professional food safety.
The Real Truth About Gloves
Gloves aren’t magic barriers. In fact, they can make things worse if you don’t use them correctly.
Professional chefs change gloves constantly. Every time they switch from raw to cooked food. When it comes to they touch a dirty surface. Every time they leave their station.
Here’s what most people get wrong: they put on gloves once and keep them on for hours. That’s actually more dangerous than just washing your hands frequently.
Gloves give you a false sense of security. You touch your phone, then your face, then go back to cooking—all while wearing the same gloves. Now those gloves are contaminated.
So if you use gloves, treat them like a second skin. Change them as often as you’d wash your hands. Otherwise, skip them and just wash your hands properly.
Hair, Clothing, and Appearance Standards
Hair Restraint That Actually Works
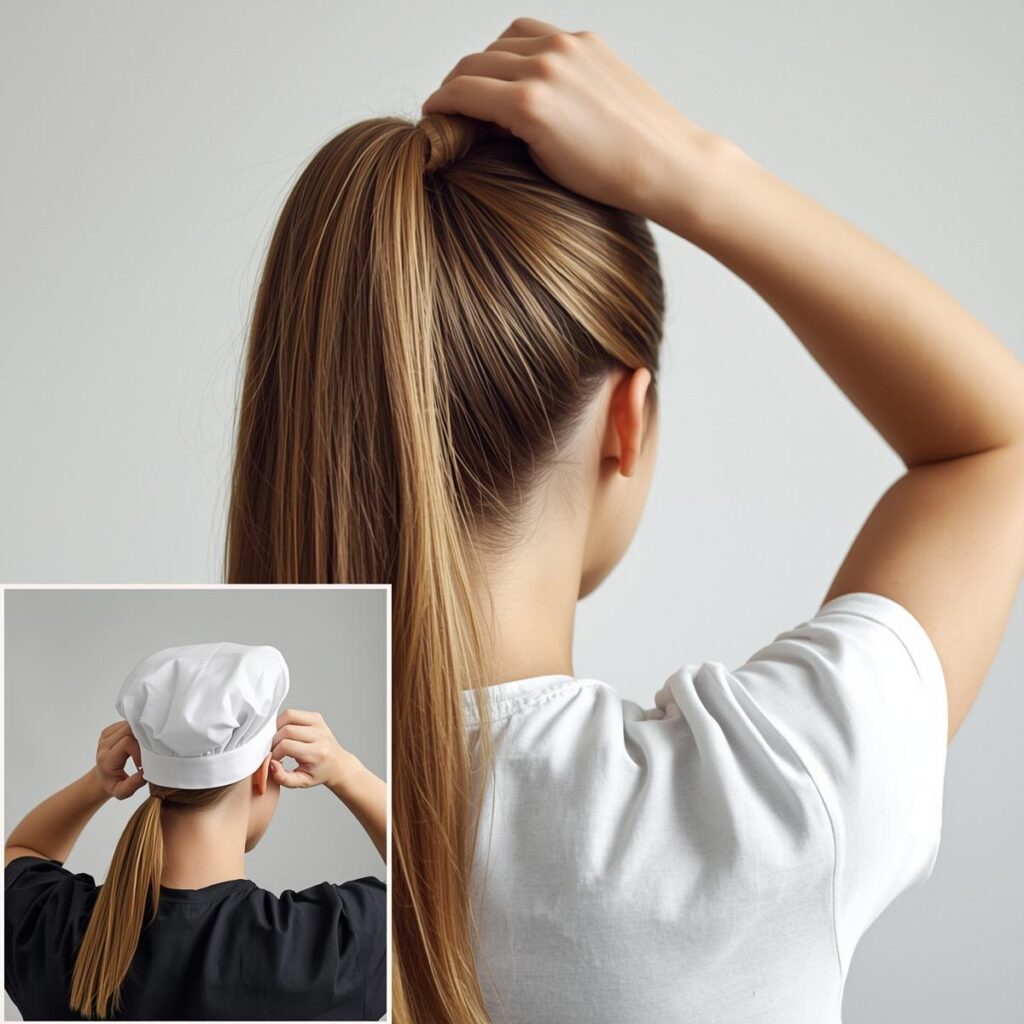
Professional kitchens require complete hair restraint. Not just pulling it back—containing every strand.
Long hair goes in a ponytail first, then gets covered with a hair net or hat. Short hair still needs a hat or hairband. Beards require beard nets. No exceptions.
Why so strict? Because hair carries bacteria and falls into food constantly. Even if you don’t see it happening.
At home, use the same approach. Tie back long hair and cover it with a bandana or cap. Keep hair products to a minimum—they can drip into food.
Clothing That Protects Everyone
Professional chefs wear clean uniforms every day. But it’s not about looking professional—it’s about preventing contamination.
Your regular clothes carry bacteria from everywhere you’ve been. Your car, the grocery store, your office. When you cook in street clothes, all those germs come into your kitchen.
Professional chefs change into clean clothes before cooking. At home, put on a clean apron that covers your clothes completely. Or change into a clean shirt you only wear for cooking.
Also, avoid loose clothing that can catch fire or drag through food. Roll up sleeves. Remove dangling jewelry. Think function over fashion.
The Jewelry Problem
Most professional kitchens ban all jewelry except plain wedding bands. Here’s why: jewelry traps bacteria and can fall into food.
Rings create spaces where bacteria hide. Bracelets dangle into ingredients. Watches are impossible to clean properly while cooking.
Even earrings can be a problem. They fall out. Plus, you touch them without thinking, then touch food.
Keep it simple: remove everything except a plain wedding ring. If you must wear a watch, choose one that’s completely waterproof and easy to clean.
Nail Care for Food Safety
Professional standards are simple: short, clean, no polish, no artificial nails.
Long nails harbor bacteria in places soap can’t reach. Nail polish chips into food. Artificial nails can fall off completely.
But here’s what many people miss: cuticles matter too. Ragged cuticles create spaces for bacteria to hide. Keep them trimmed and moisturized.
Clean under your nails with a nail brush every time you wash your hands. It’s not enough to run water over them—you need to scrub.
Also, avoid nail biting or picking at hangnails while cooking. Both habits transfer bacteria directly from your hands to your mouth and back to food.
Managing Injuries While Cooking
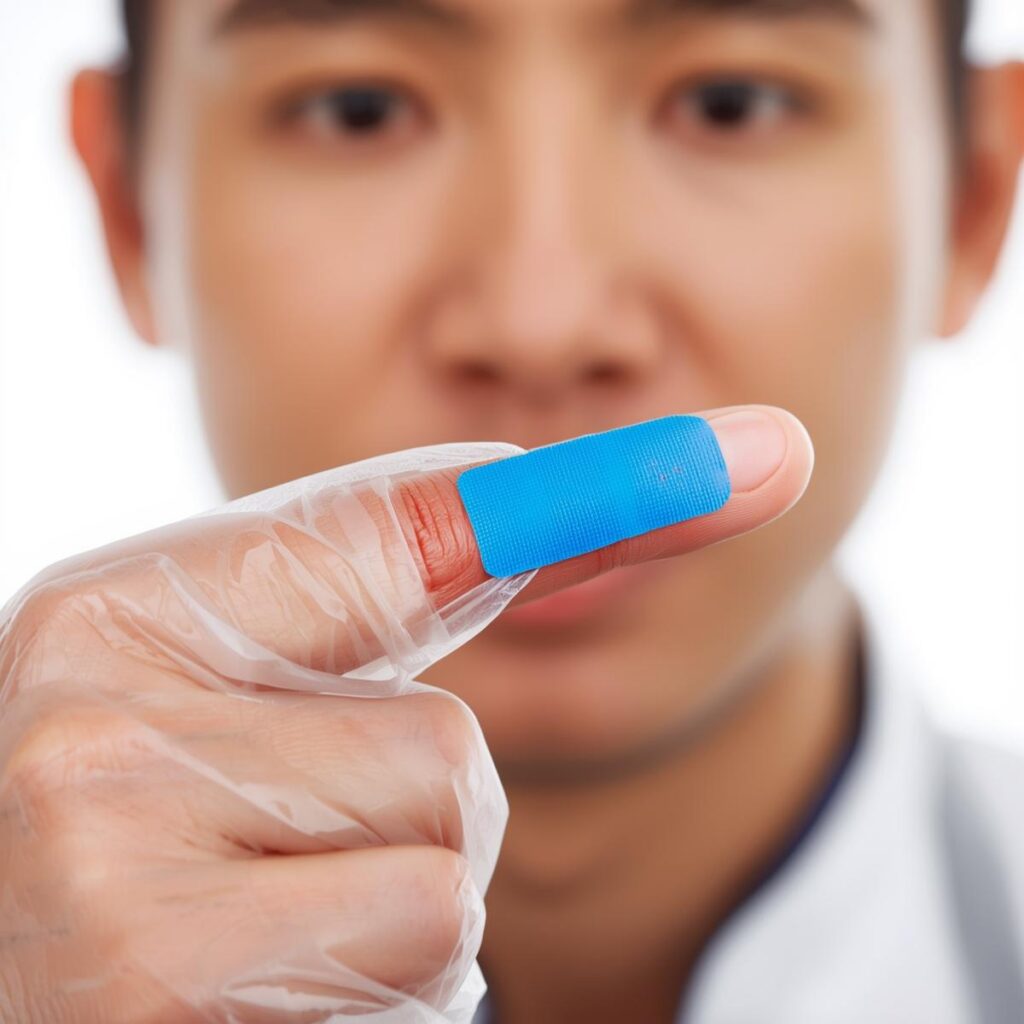
Cuts and burns happen in every kitchen. However, professionals handle them differently than most home cooks.
Dealing with Cuts
First, stop cooking immediately. Wash the cut with soap and water. Apply pressure to stop bleeding.
Once bleeding stops, cover with a waterproof bandage. Then put on a glove over the bandaged hand. This prevents the bandage from falling off and keeps it clean.
But here’s the key: if the cut is deep or won’t stop bleeding, don’t keep cooking. Get proper medical attention. No meal is worth risking infection.
Professional kitchens often require blue bandages because they’re easy to spot if they fall into food. You can buy these online for your home kitchen.
Handling Burns
Burns are even more serious because they can easily get infected.
For minor burns, run cold water over the area for at least 10 minutes. Don’t use ice—it can damage tissue. Don’t use butter or oil—they trap heat and make burns worse.
Once cooled, cover with a clean, dry bandage. Like cuts, put a glove over the bandaged area if you continue cooking.
However, if the burn is larger than a quarter or creates blisters, stop cooking and get medical attention.
Temperature Danger Zone Mastery
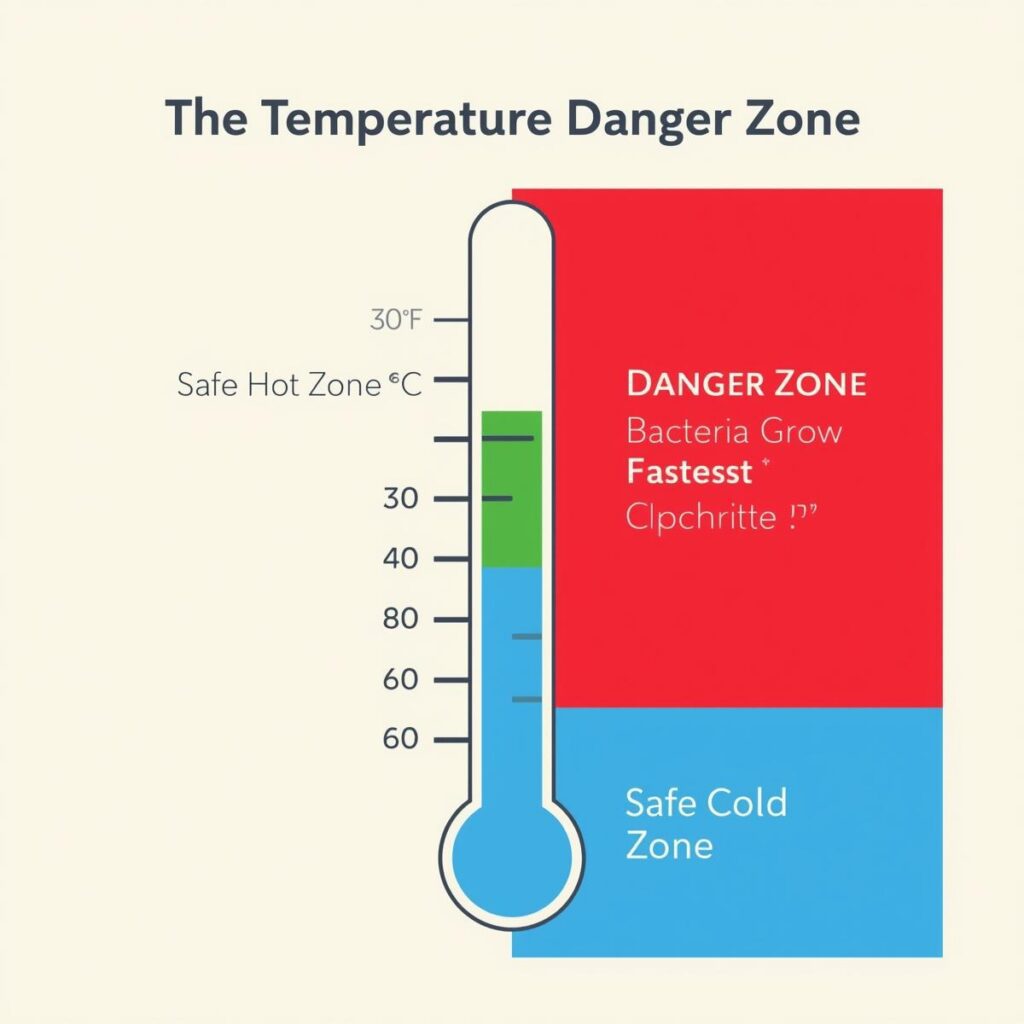
Professional chefs memorize one number: 40-140°F. This is the temperature danger zone where bacteria multiply fastest.
Food should spend as little time as possible in this range. But most home cooks have no idea how long their food sits in the danger zone.
The Two-Hour Rule
Food can stay in the danger zone for maximum two hours. After that, bacteria levels become dangerous.
But there’s a catch: if the room temperature is above 90°F, the limit drops to one hour.
This means your Thanksgiving turkey can’t sit on the counter all morning to thaw. Your potato salad can’t stay out during a summer barbecue all afternoon.
Instead, thaw food in the refrigerator. Keep cold food on ice. Get hot food back in the fridge within two hours.
Hot Food Holding
Hot food needs to stay above 140°F to be safe. Most home cooks don’t realize their “warm” oven or slow cooker might not be hot enough.
Use a thermometer to check. If food drops below 140°F, either reheat it to 165°F or throw it out.
Professional kitchens use steam tables and heat lamps to maintain proper temperatures. At home, your best bet is to serve food immediately after cooking.
Cross-Contamination Prevention Strategies
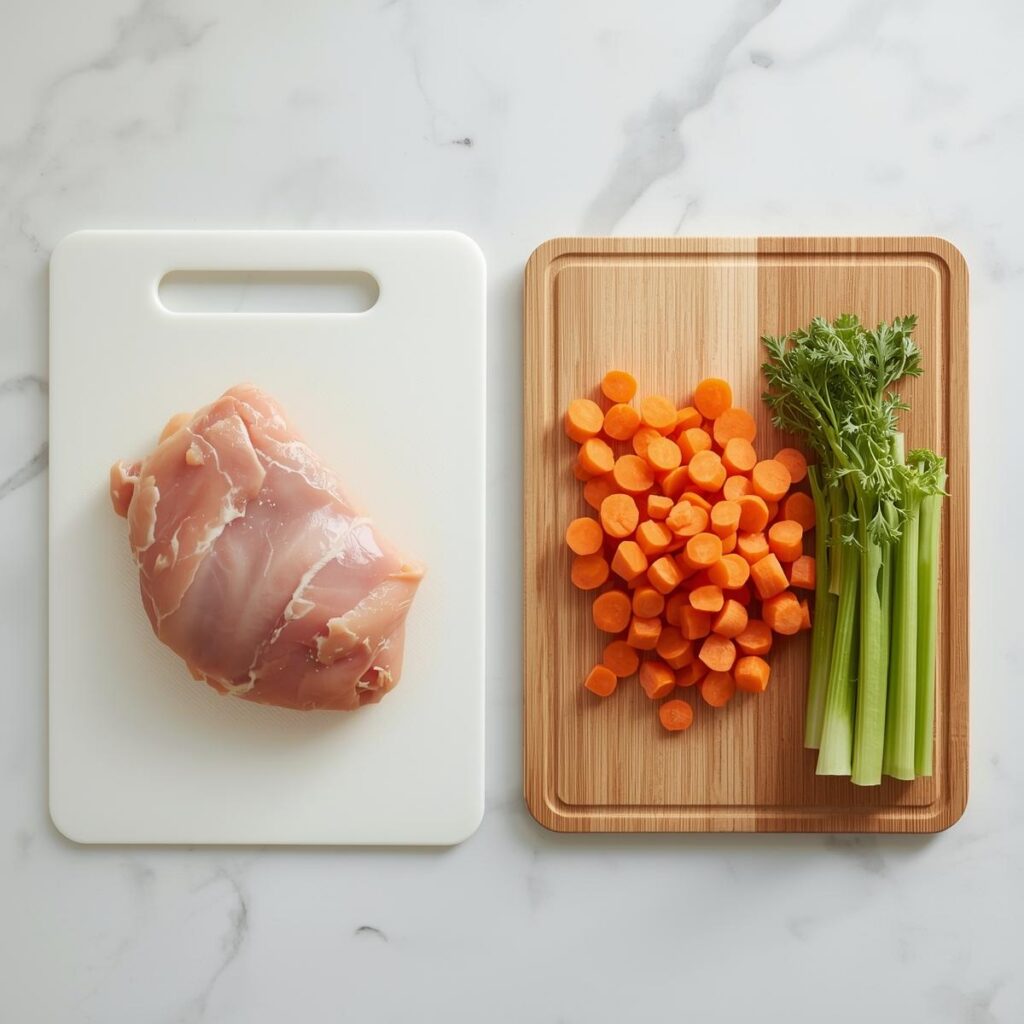
This is where most home cooks fail. Professional kitchens have systems to prevent cross-contamination. Home cooks usually just wing it.
The Color-Coded System
Professional kitchens use different colored cutting boards for different foods. Red for raw meat. Yellow for poultry. Blue for seafood. Green for vegetables. White for dairy and bread.
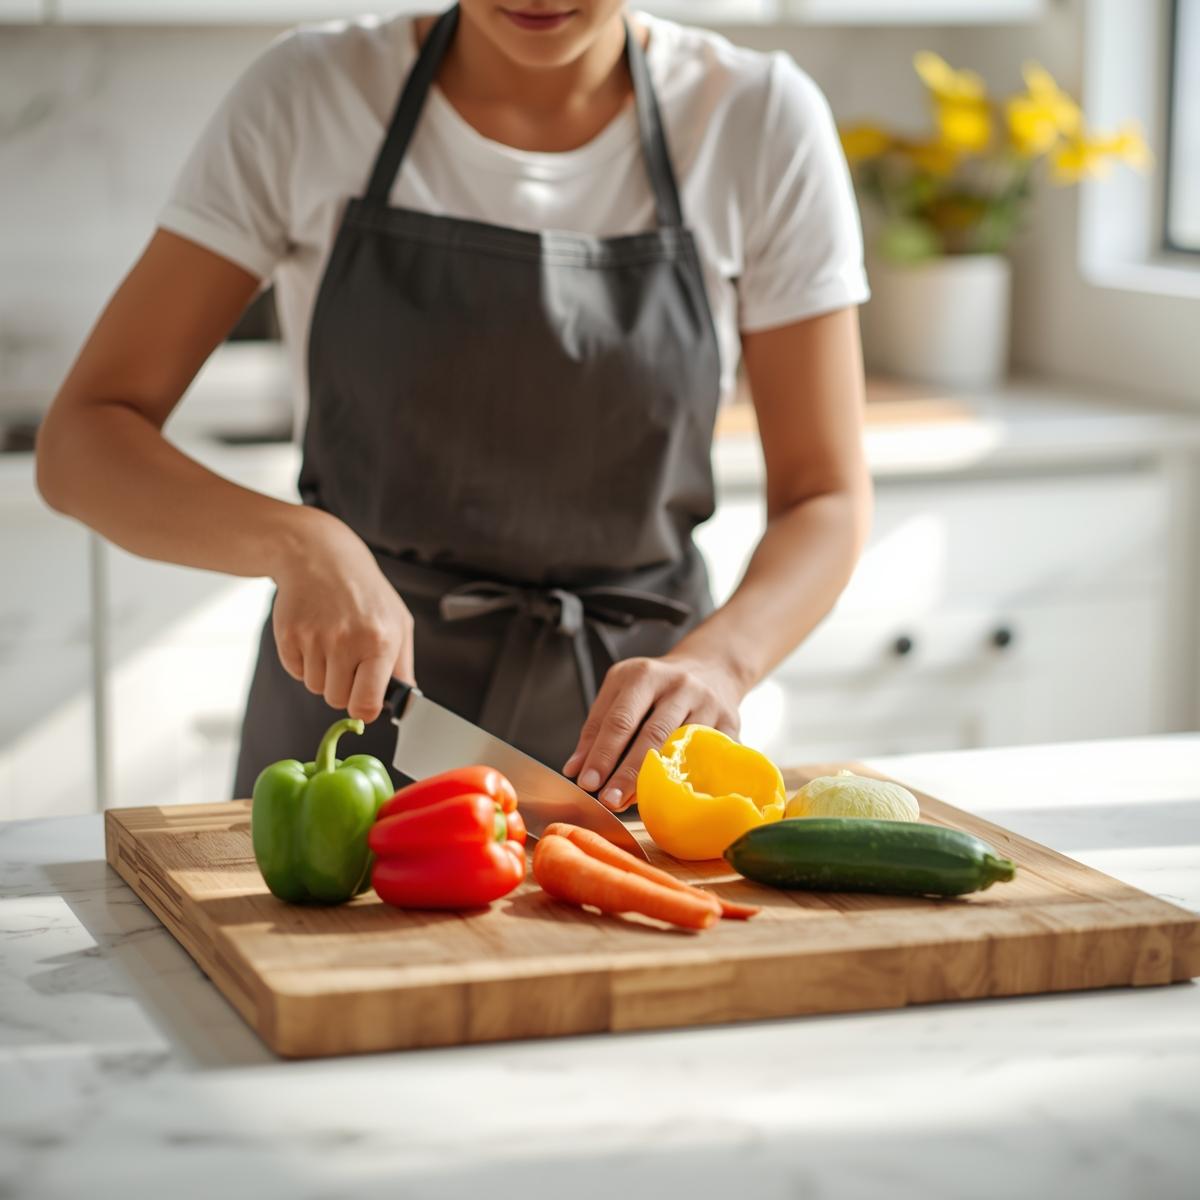
You don’t need five cutting boards. But you do need at least two: one for raw meat and one for everything else.
Better yet, use disposable cutting board sheets for raw meat. They’re cheap and eliminate cross-contamination risk completely.
Proper Tool Management
Professional chefs never use the same knife for raw chicken and vegetables without washing it first. Yet home cooks do this constantly.
The solution is simple: either wash tools between uses or have multiples. Many professional kitchens provide each chef with two knives—one for raw proteins, one for everything else.
At home, wash your knife and cutting board immediately after handling raw meat. Or better yet, prep all your vegetables first, then handle raw meat last.
Storage That Prevents Problems
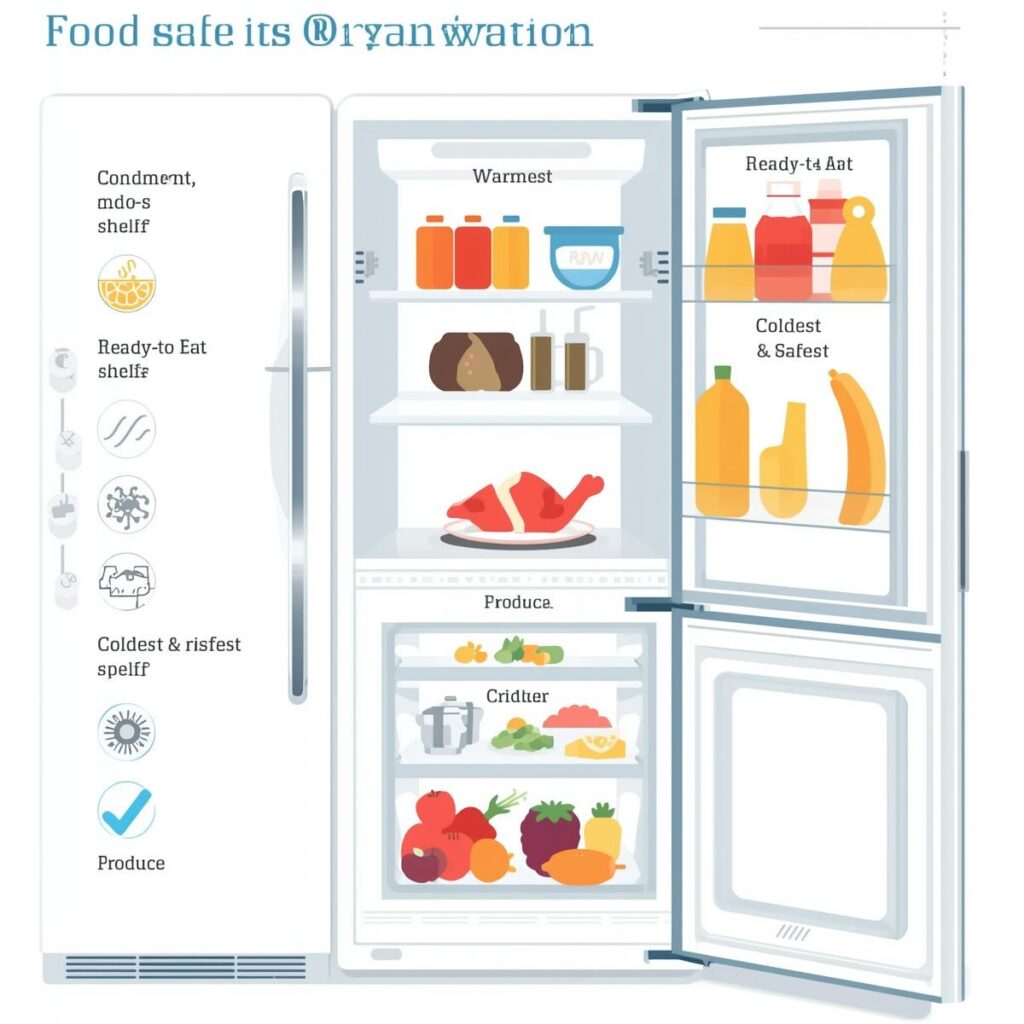
Raw meat always goes on the bottom shelf of the refrigerator. Vegetables and ready-to-eat foods go on top.
Why? Gravity. If raw meat drips, it won’t contaminate food below it.
Also, store raw meat in containers, not just wrapped in plastic. Plastic can leak. Containers catch drips.
Use the same logic in your freezer. Raw meat on bottom, everything else on top.
Cleaning vs. Sanitizing: Know the Difference
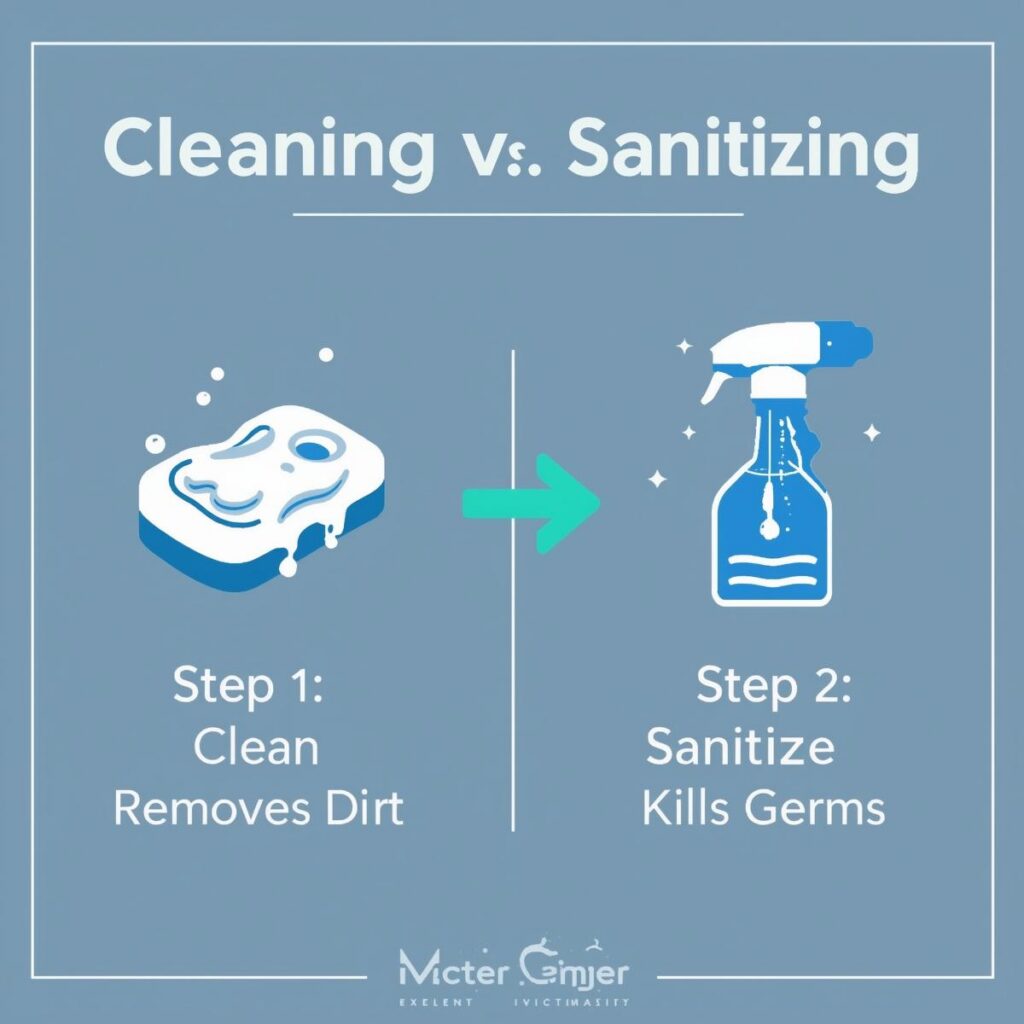
Most home cooks think cleaning and sanitizing are the same thing. They’re not.
Cleaning removes visible dirt and debris. Sanitizing kills bacteria and viruses. You need both.
Professional kitchens clean first, then sanitize. Soap and water for cleaning. Chemical sanitizers or very hot water for sanitizing.
The Three-Compartment System
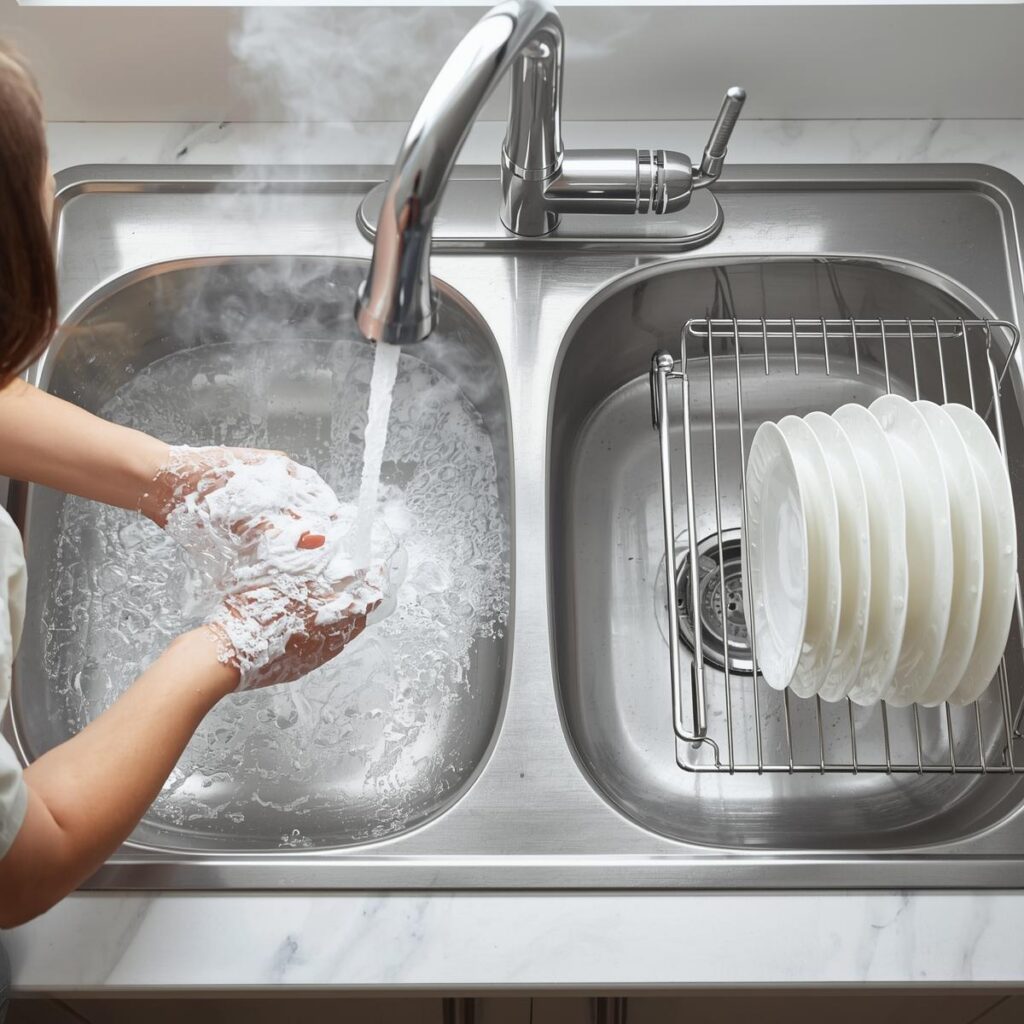
Professional dishwashing uses three steps: wash, rinse, sanitize.
First compartment: hot soapy water for washing. Second compartment: clean water for rinsing. Third compartment: sanitizing solution or very hot water.
At home, you can follow the same system in your sink. Wash with soap, rinse with clean water, then either use sanitizing solution or very hot water for the final step.
Sanitizing Solutions
Professional kitchens use chemical sanitizers. But hot water works too if it’s hot enough—171°F or higher.
Most home water heaters don’t get that hot. So either use a chemical sanitizer or stick to the dishwasher’s sanitize cycle.
Chemical sanitizers are cheap and available at restaurant supply stores. Mix according to directions—more isn’t better and can leave dangerous residues.
Building Your Home Hygiene System

Professional hygiene isn’t about perfection. It’s about systems that work consistently.
Start with handwashing. Set a timer if you need to. Make it automatic before you touch any food.
Then add proper clothing. Clean apron, tied-back hair, no jewelry.
Next, organize your prep work. Vegetables first, raw meat last. Clean as you go.
Finally, control temperatures. Use a thermometer. Follow the two-hour rule. Keep hot food hot and cold food cold.
Most importantly, be consistent. Professional chefs follow these rules every single day. That’s what makes them professional.
Making It Stick
The hardest part isn’t learning these rules—it’s following them when you’re tired, rushed, or distracted.
Professional kitchens solve this with checklists and constant training. At home, create your own checklist until these habits become automatic.
Start with just one or two changes. Once those feel natural, add more. Trying to change everything at once usually leads to giving up.
But stick with it. After a few weeks, proper hygiene becomes second nature. And your food will be safer and taste better too.

Professional chef hygiene isn’t complicated. It’s just different from what most home cooks do. Learn the system, practice the techniques, and watch your cooking transform from amateur to professional level.
The best part? Once you understand why professionals do things this way, it all makes perfect sense. And you’ll wonder why you ever cooked any other way.