
Vegetable Chopper Easy to Clean
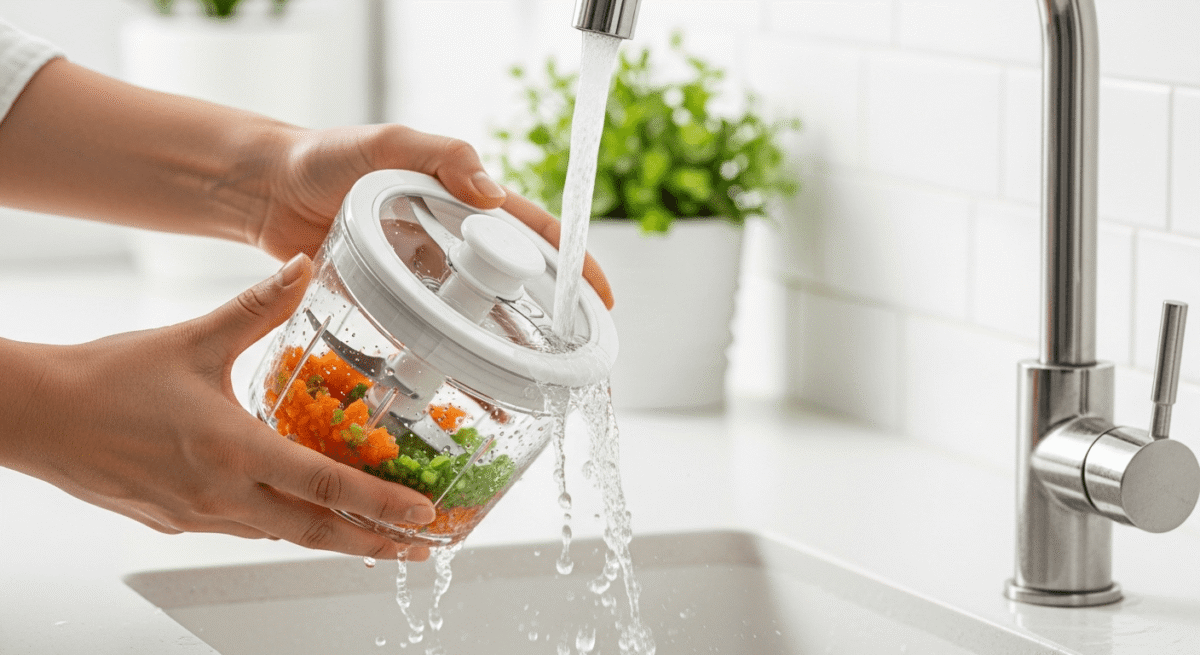
Vegetable Chopper Easy to Clean: Your Complete Buying Guide
You love the idea of chopping veggies in seconds, but then you remember the cleanup nightmare. Stuck food bits, hard-to-reach corners, and blades that need careful scrubbing. That’s why finding a vegetable chopper easy to clean changes everything about meal prep.
Why Easy Cleaning Actually Matters
Here’s the truth – most people stop using their veggie chopper after a few weeks. Not because it doesn’t work, but because cleaning it feels like a chore.
You’re tired after cooking dinner. The last thing you want is scrubbing tiny food particles from complicated gadgets. So the chopper sits in the cabinet, and you go back to using a knife.
But when you find a vegetable chopper easy to clean, you’ll actually use it daily. That’s when meal prep becomes faster and less stressful.
What Makes a Vegetable Chopper Easy to Clean
Fewer Parts Mean Less Work
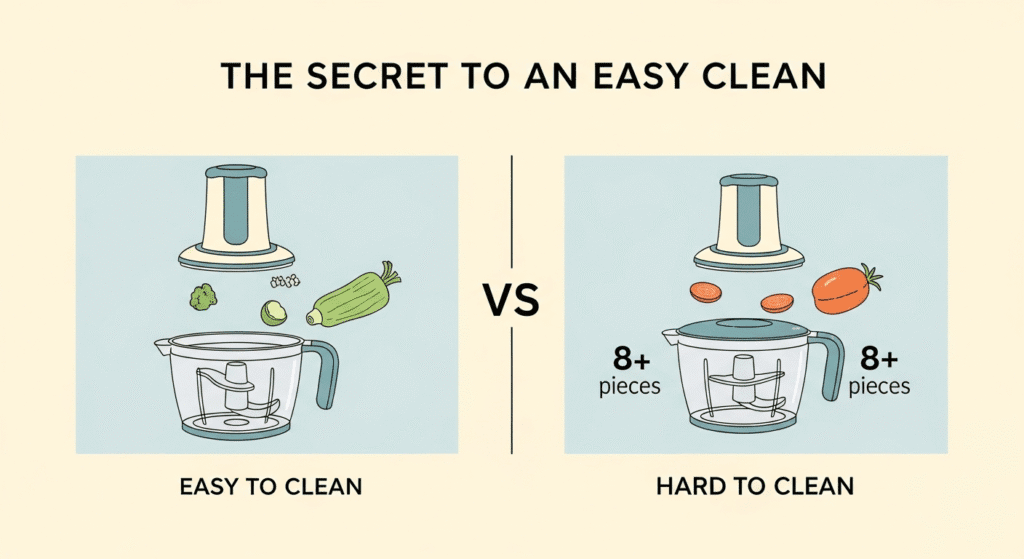
The best designs have 3-4 pieces maximum. Container, lid with blade, and maybe a pusher. That’s it.
More pieces mean more surfaces where food gets trapped. And honestly, who wants to wash 8 different components after making a simple salad?
Dishwasher-Safe Components
Look for choppers where everything goes in the dishwasher. Life’s too short for hand-washing every kitchen gadget.
But here’s something important – check if the blades stay sharp after repeated dishwasher cycles. Some cheaper models lose their edge quickly.
Smooth Surfaces Without Hidden Crevices
Food loves hiding in corners and grooves. The simpler the design, the easier your cleanup becomes.
Avoid choppers with complicated mechanisms or lots of small parts. Those tiny spaces collect onion bits and carrot pieces that you’ll never completely remove.
Removable Blade Systems
Being able to remove the blades completely is huge. You can actually reach every surface instead of awkwardly poking around sharp edges.
Plus, removable blades are safer to clean. You’re not risking cuts while trying to scrub stuck food off fixed blades.
Top Features to Look For
Wide Container Openings
Narrow containers trap food at the bottom. Then you’re stuck using a brush or your fingers to dig everything out.
Wide openings let you rinse thoroughly under running water. And if something does stick, you can easily reach it without frustration.
Non-Stick Coating or Material
Plastic containers with non-stick properties release food more easily. Stainless steel works great too because nothing sticks to smooth metal.
Avoid textured or rough surfaces inside the container. Those catch and hold onto small vegetable pieces every single time.
Clear Containers Help You See
Being able to see inside means you know if everything’s clean. No more discovering dried food bits the next time you go to use it.
Clear plastic also lets you monitor while chopping. You’ll know when to stop before everything turns to mush.
Different Types and Their Cleaning Difficulty
Manual Push-Down Choppers
These are usually the easiest to clean. Push the top, food gets chopped, and you’re done. Most have just 2-3 parts.
The simple mechanism means fewer places for food to hide. And since there’s no motor, you can safely submerge everything in soapy water.
Pull-String Choppers
Pull-string models work well but often have more components. The string mechanism can trap food particles if you’re not careful.
However, many newer designs separate the pulling mechanism from the food container. That makes cleaning much simpler than older versions.
Electric Choppers
Electric models chop fastest but cleaning takes longer. You can’t submerge the motor base, so you’re limited to wiping it down.
The bowl and blade usually detach for washing. But motor parts and electrical connections create extra surfaces that need attention.
Step-by-Step Cleaning Guide
Immediate Rinse After Use
Don’t let food dry on your chopper. Rinse everything immediately after you finish cooking. This single habit makes the biggest difference.
Dried onion or garlic becomes cement-like and nearly impossible to remove. Fresh food particles wash away in seconds under running water.
Disassemble Completely
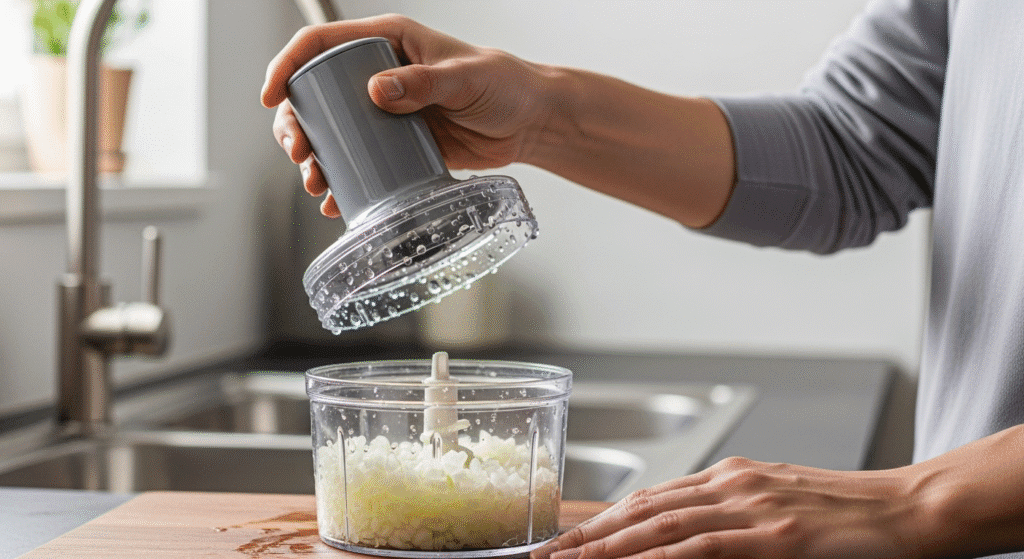
Take apart every removable piece. Don’t try to clean it assembled because you’ll miss spots.
Separate the blades, container, lid, and any pushers or mechanisms. Lay everything out so you can wash each piece properly.
Use Warm Soapy Water
Hot water works better than cold for cutting through vegetable oils and residue. Add dish soap and let everything soak for a minute if needed.
For stubborn bits, a soft brush or old toothbrush reaches into corners without scratching the plastic or damaging blades.
Dry Thoroughly Before Storing
Water trapped in assembled parts creates mold and weird smells. Shake off excess water and let everything air dry completely.
Or use a clean dish towel to dry each piece individually. Just be careful around the blades to avoid cuts.
Weekly Deep Clean
Once a week, give your chopper a deeper clean. Soak all parts in warm soapy water for 10-15 minutes.
This removes any buildup you might have missed during daily cleaning. It also helps prevent odors from developing over time.
Common Cleaning Problems and Solutions
Food Stuck in Blade Grooves
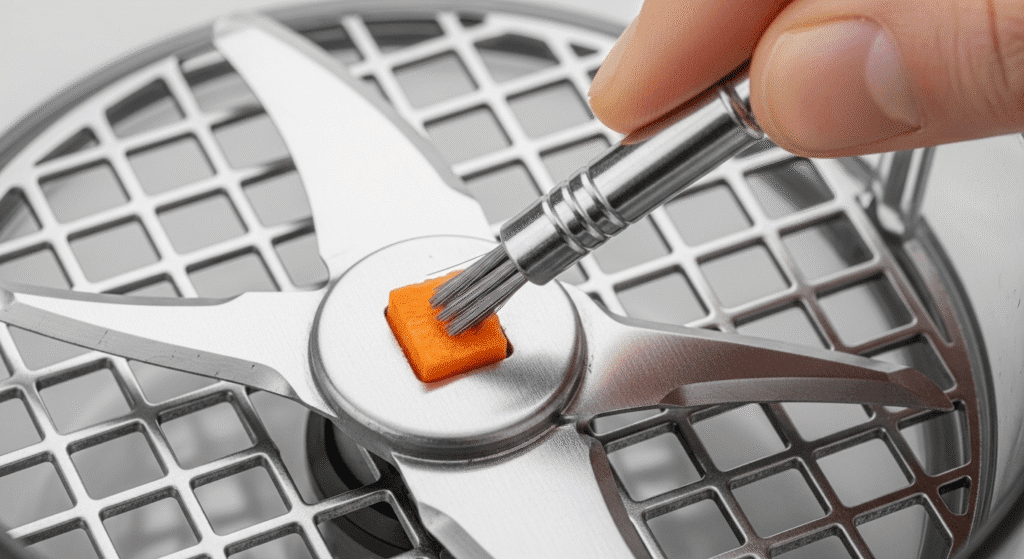
Use a small brush or toothpick to dislodge stuck particles. Work carefully to avoid dulling the blade or cutting yourself.
Some people use a high-pressure kitchen spray nozzle. The water force clears out trapped food without requiring you to touch the blades directly.
Onion Smell Won’t Go Away
Soak the affected parts in a mixture of baking soda and water. About 2 tablespoons of baking soda per cup of water works well.
Let it sit for 30 minutes, then wash normally. The baking soda neutralizes the sulfur compounds that cause onion smell.
Stained Plastic from Tomatoes or Beets
Mix equal parts baking soda and dish soap into a paste. Rub it onto the stained areas and let it sit for 15 minutes.
Then scrub gently with a soft sponge. Most stains will lift right off. For stubborn stains, try lemon juice instead of baking soda.
Blades Getting Dull from Washing
If your dishwasher is dulling the blades, switch to hand-washing them. The harsh detergents and high heat can damage blade edges over time.
Also, avoid using abrasive scrubbers on the blades. A soft sponge with soap is gentler and keeps them sharper longer.
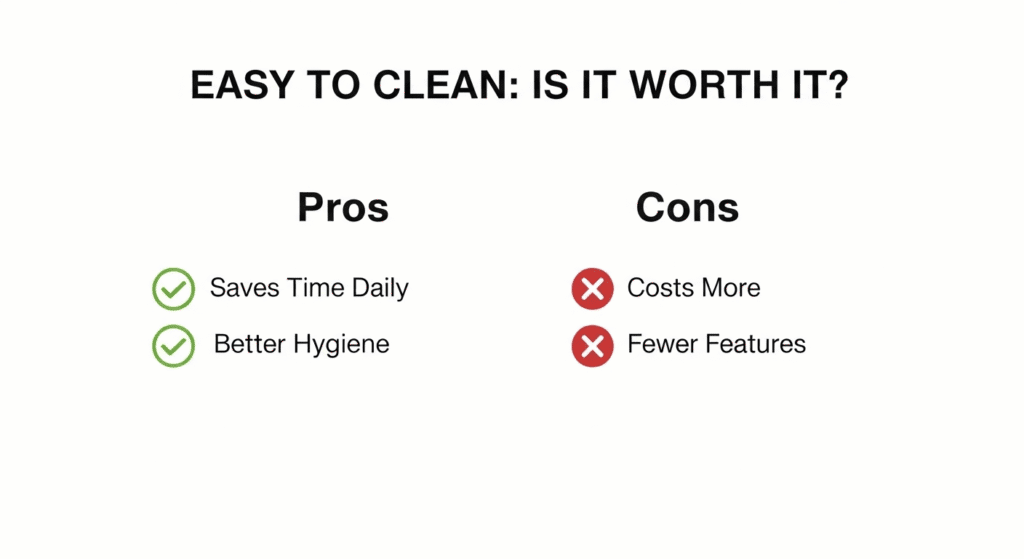
Vegetable Chopper Easy to Clean: Pros and Cons
The Advantages
Saves Actual Time – You’ll spend 30 seconds cleaning instead of 5 minutes. That’s worth it when you’re tired after cooking.
More Likely to Use Daily – Easy cleanup means you won’t avoid using it. You’ll chop more veggies and eat healthier meals.
Less Frustration – No more cursing at stuck food or complicated parts. Cleaning becomes a quick rinse instead of a project.
Better Hygiene – Simple designs clean more thoroughly. Fewer bacteria hiding spots mean safer food prep.
Dishwasher Friendly – Just toss it in and forget about it. No hand-washing required after long cooking sessions.
The Drawbacks
Often More Expensive – Better designs with quality materials cost more upfront. But the convenience usually justifies the price difference.
May Have Fewer Features – Simpler choppers sometimes lack extra blade options. You trade versatility for easier cleaning.
Plastic Can Stain – Even easy-to-clean models might stain from colorful vegetables. It doesn’t affect function but looks less appealing.
Blades Need Care – Easy to clean doesn’t mean indestructible. You still need to handle and wash blades carefully.
Size Limitations – Choppers designed for easy cleaning tend to be smaller. Large batches might require multiple rounds of chopping.
Frequently Asked Questions
How often should I deep clean my vegetable chopper?
Once a week if you use it daily. If you only chop vegetables occasionally, deep clean it every 2-3 uses.
Regular deep cleaning prevents buildup and keeps everything working smoothly. It also extends the life of your chopper significantly.
Can all vegetable choppers go in the dishwasher?
No, always check the manufacturer’s instructions first. Most containers and lids are dishwasher-safe, but some blades require hand-washing.
Electric chopper bases never go in the dishwasher. And some cheaper plastic parts warp in high heat, so top rack only when possible.
What’s the fastest way to clean a vegetable chopper?
Rinse immediately after use before food dries. Then disassemble and run everything under hot water with a quick soap scrub.
This takes about 30 seconds total. Let it air dry on a dish rack, and you’re done. No soaking or scrubbing needed.
How do I remove garlic smell from my chopper?
Wash with dish soap first, then rub all surfaces with lemon juice or white vinegar. Let it sit for 10 minutes before rinsing.
For stubborn smells, make a paste with baking soda and water. Apply it to smelly parts, wait 15 minutes, then wash normally.
Are stainless steel choppers easier to clean than plastic?
Generally yes, because food doesn’t stick as easily to smooth metal. Stainless steel also resists staining better than plastic.
However, good quality plastic choppers with non-stick properties clean almost as easily. And plastic is lighter and often cheaper.
Can I use bleach to clean my vegetable chopper?
It’s not recommended for regular cleaning. Bleach can damage plastic parts and leave a chemical residue you don’t want on food.
For sanitizing, use white vinegar or a food-safe sanitizer instead. These clean thoroughly without potentially harmful chemical residue.
What causes white film on my chopper after washing?
That’s usually mineral deposits from hard water. Rinse with white vinegar to remove the film, then dry immediately.
Or switch to distilled water for final rinse. The mineral-free water won’t leave any deposits behind.
How do I store my vegetable chopper to keep it clean?
Make sure everything is completely dry before storing. Stack parts loosely so air can circulate between them.
Avoid storing it fully assembled because moisture can get trapped. Keep it in a clean, dry cabinet away from dust and debris.
Making Your Choice
Think about how often you’ll actually use it. If you’re meal prepping weekly or cooking daily, invest in a quality model that’s genuinely easy to clean.
Read reviews specifically mentioning cleaning difficulty. Other users will tell you the truth about hidden crevices and stuck food problems.
A vegetable chopper easy to clean isn’t just convenient – it’s the difference between actually using your kitchen tools or leaving them to collect dust. When cleanup takes 30 seconds instead of 5 minutes, you’ll find yourself reaching for it constantly.
Final Thoughts
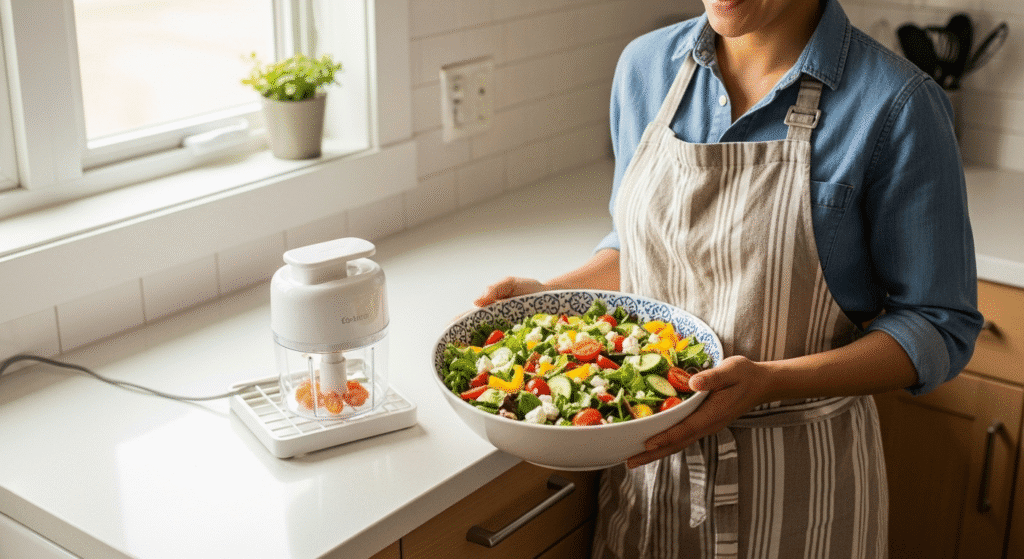
The right chopper makes meal prep faster and way less stressful. But only if you actually want to clean it after every use.
Now you know exactly what features matter and how to keep your chopper spotless with minimal effort. So pick one that fits your cooking routine and cleaning preferences.
Ready to make veggie prep something you don’t dread anymore?